Table of Contents
Garage Computer Workstation
As part of our house extension in 2020 we had the garage remodelled to take two cars, as well as room for a workbench and extra storage. Hopefully I'll get around to some of the projects I've been meaning to finish for a while (digital dashboard for my Escort Cosworth, electronics projects, a safer place to spray paint etc.).
One thing I wanted in the space, in addition to a proper set of workbenches, was a computer so that I didn't have to keep lugging my laptop around. Why?
- Laptops are fragile and expensive
- I could control 3D printers from it (and printers would be much cleaner in the garage to begin with!)
- If I have any automotive dongles or interfaces, there would be a PC already there
- It's another place to work-from-home during the warmer months
- It's far easier to look up reference material, plans, diagrams etc if I have a screen nearby where I'm working
PC
Almost all of the components for the PC were sourced from my various 'spares' boxes that I accumulated over the years; a GPU that I replaced with an upgraded part, RAM modules that I saved from a PC that I threw away, SSD's that were replaced with larger drives, etc.
The only new parts were the case (£30 from Scan.co.uk) and the power supply (£30 from Amazon). All of the cables, fasteners and other supporting bits and pieces like the extra fans were all just old spares that I had, so it cost very little (well, £60, I guess!) to put this machine together.
Specifications
- Case: Thermaltake H15 Micro-ATX
- Power: Coolermaster MWE 500
- Motherboard: Intel DQ77MK LGA1155 Sandy Bridge / Ivy Bridge
- Processor: Intel Core i7 3770 3.4-3.9GHz, 4 core / 8 thread, 8M cache, 77W TDP
- GPU: Asus Strix GTX980 4GB
- SSD: Samsung EVO 850
- RAM: 24GB (2x8GB + 2x4GB) 1333MHz DDR3
It's all old stuff as of 2020, but still easily powerful enough to run anything I throw at it short of the latest games.
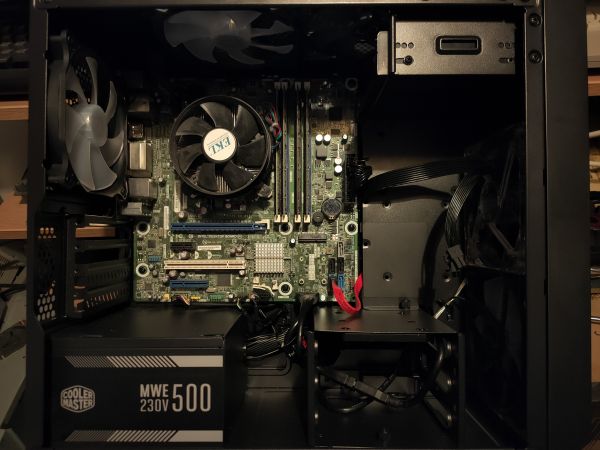
Case with all components except GPU fitted:
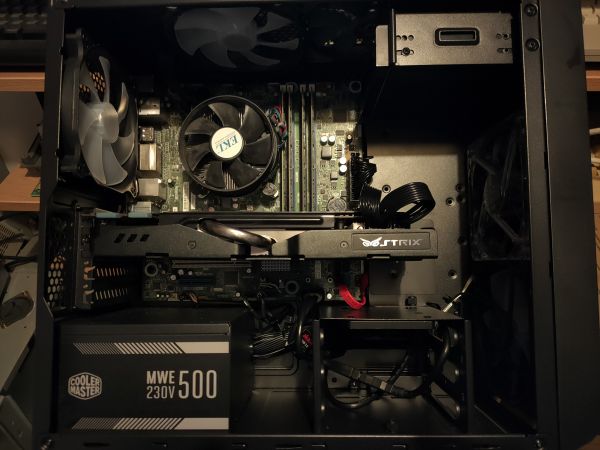
… and with GPU:
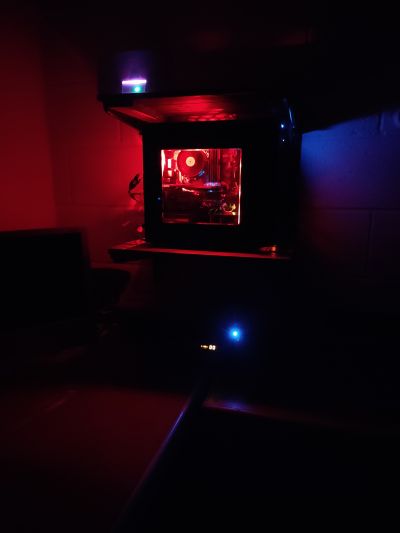
Obligatory LED fan night shot….
Monitor
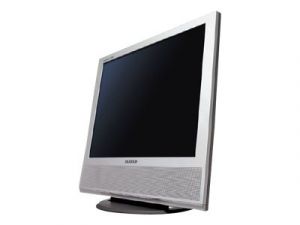
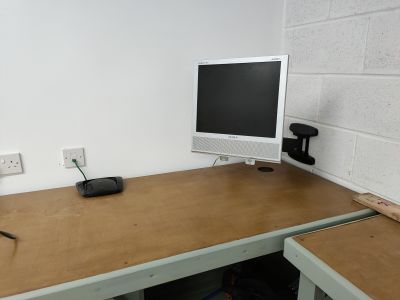
This is an old monitor I kept around because it did sync-on-green as well as supported RGB scart input:
- Samsung Syncmaster 710MP (VGA, RGB-scart, 1280×1024, 17“)
The reason I used this is a) because I didn't want to spend any money if I didn't have to, and b) there is other equipment that I need to connect up that really doesn't like playing with anything more modern than an analogue VGA signal.
Mounting
I picked up a Fellowes branded wall mounted monitor arm from Ebay - it's designed for widescreen monitors or displays up to 40” in size, so it's quite a substantial bracket and mounting solution. It will be easily good enough for either a 17“ or 19” monitor for my bench:
Mouse, Keyboard, Audio etc
As I wanted to use the opportunity to set up and use some of my older computer equipment that had been stored in the loft for some time, I needed the ability to have multiple video and keyboard/mouse signals (and audio!) output at the same time. This meant a KVM.
Normally this may have been an issue, as most of the older computers output analogue video (VGA or similar), but newer equipment is usually HDMI or DisplayPort. Fortunately the GPU used in the PC (currently the Nvidia GTX980) has a DVI-I port, which can still output a VGA signal. So that means a VGA KVM will work.
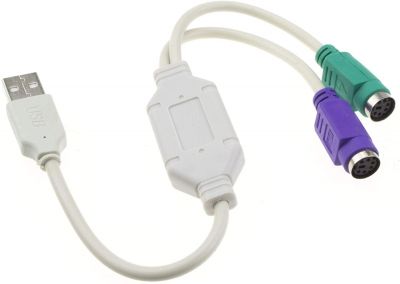
The garage PC also only has USB for peripherals, so we also need to use a USB to PS2 adapter:
… I tested this out and it works really well. Everything works as it should in Linux, one small annoyance is that prior to booting the the mouse only moves vertically in the BIOS, but the keyboard is a perfectly good alternative in that environment, so it's not an issue.
I found a Belkin F1DA104T KVM along with a complete set of PS2+VGA cables, power supply and the optional rack mounting kit on Ebay for a bargain £20:
Audio Mixing
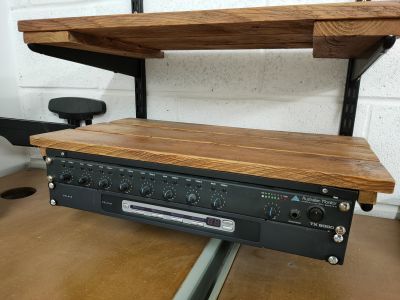
As all of the computers will have audio out they would need to be merged prior to output to speakers. I had a really old rackmount mixer panel that a friend gave me several years ago, I was going to use it in my office prior to picking up a dirt cheap Extron controller, and that would do the job nicely.
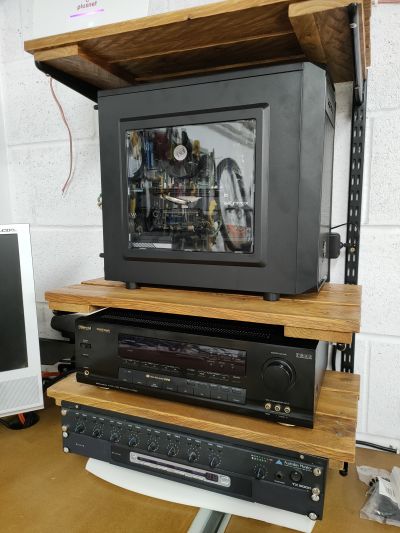
A 2U rackmount bracket was screwed to the bottom shelf of my computer/electronics storage area and the mixer and KVM switch installed:
Audio Output
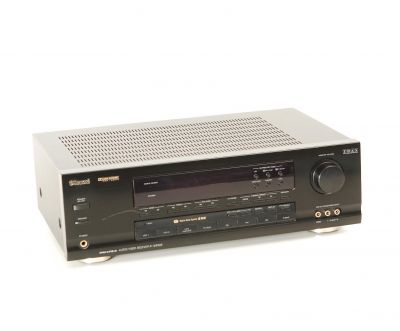
I had a choice of 3 audio amplifiers in my spares collection to use; a relatively (<10 years old) Sony STRD820 7.1 surround sound AV receiver, an old (~25 years) Sherwood R125RDS pro-logic AV receiver and an middle-aged (~20 years) Sony stereo amplifier.
The newer Sony would have been a waste and a bit of overkill (plus, it's a spare in case our main TV/cinema setup fails), so I went with the decision to install the Sherwood. The LCD display won out over the boring red LED of the Sony :)
Speakers
As of now (Jan 1st, 2021), I haven't yet installed any speakers, though they will likely be wall mounted either side of the computer/audio shelving when I do so.
Likely will pick up a used set of bookshelf speakers from a decent brand like Tannoy (Mercury M1), Mission (760), Denon (SC-M50/SC-M101) or similar.
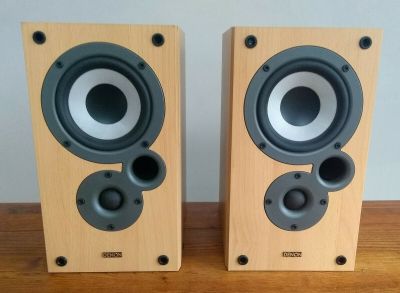
[Update Jan 2nd 2021] - Put a silly low bid on a pair of Denon/Mission M10K-2 bookshelf speakers and had it accepted. So I have a pair of these on the way:
When they arrive they'll get wall mounted either side of the computer/stereo shelves.
[Update 10/01/2021] - Brackets fitted and speakers now mounted:
Other Equipment
SGI Octane 2
TBC
SGI Indigo 2
TBC
3D Printing
TBC


