Table of Contents
Maschinen Krieger Luna Gans
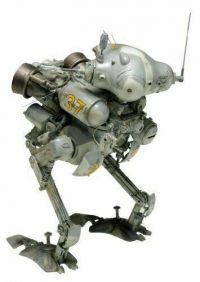
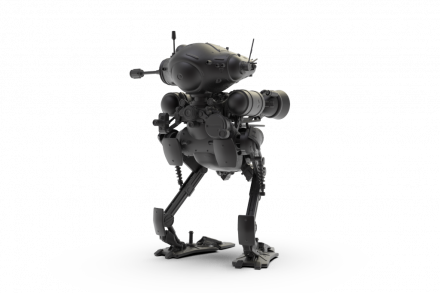
This is another design from the Maschinen Krieger universe, modified by the artist 'Three Triangle'. It's not an exact duplicate of the Wave/Hasegawa model, but pretty close and definitely 'in spirit' of the design.
Here's the original model, in 1/20 kit form from Wave, and the authors 3D model to the right:
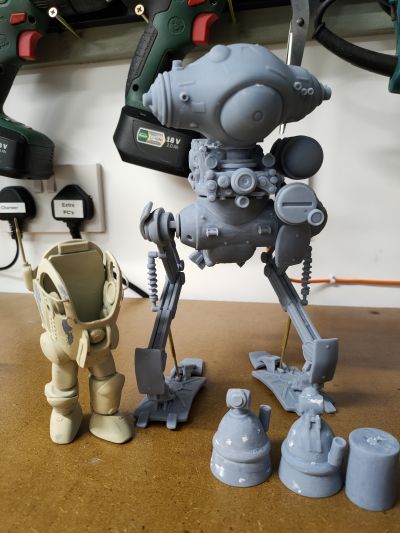
What doesn't come across very well is the size; it's well over twice the height of one of the normal armoured fighting suits (almost three times, actually).
Details
- License: Private/Non-commercial
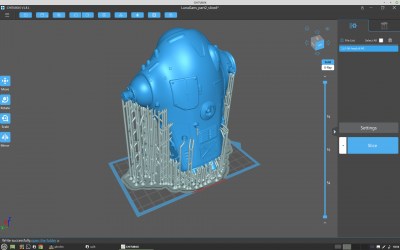
- Scaling: Model is designed for 1/20 scale, but had to be scaled down to 80% for the largest part (the 'head') to fit in the build area
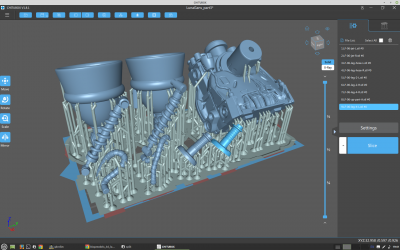
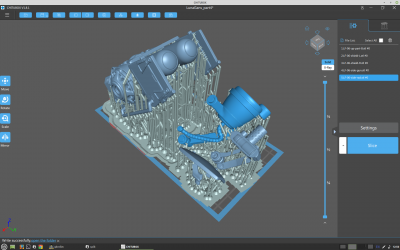
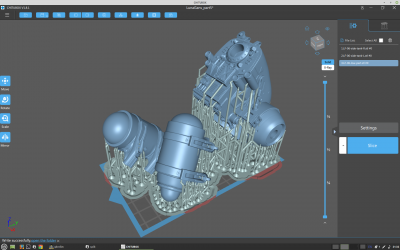
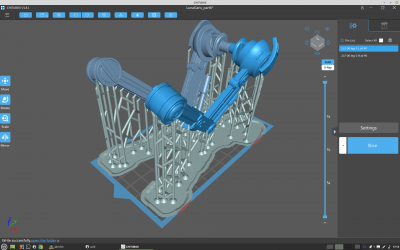
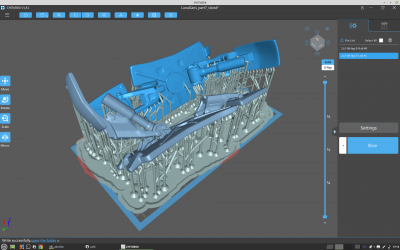
- Supports: Added by Chitubox, plus manual positioning
Tools Used
- Elegoo Mars Pro SLA LCD printer
- Elegoo standard photo-polymer resin (grey)
- Ultimate sanding sticks
- Pin drill
- Loctite super glue
- Various diameters of brass pipe & wire
Colours Used
- Base primer: Vallejo Surface Primer, black.
Background Info
3D Model
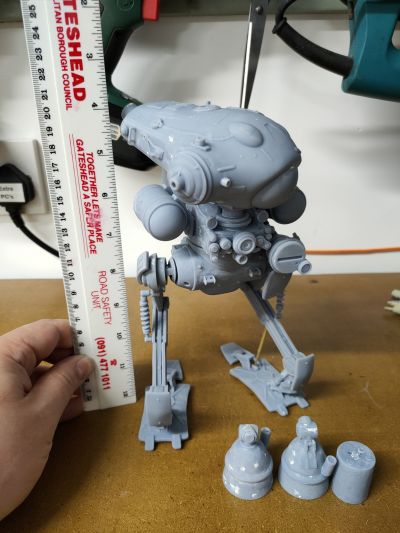
This is a fairly large model (at unmodified 1/20 scale it is ~29cm tall, so at 80% of that it's still over 23cm in height), so it's going to have to be printed in quite a few batches to complete all 37 individual parts.
Part 1
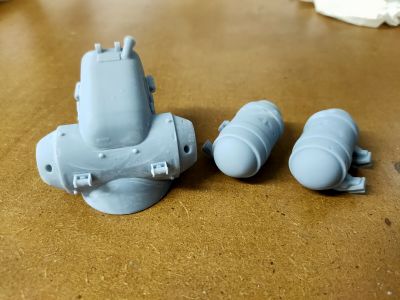
- 2x cylinders (fuel storage?)
- LF-06-back-tank-L.stl
- LF-06-back-tank-R.stl
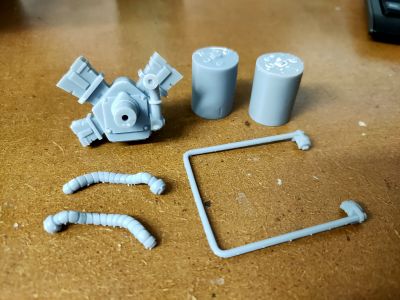
- 2x big power transfer cables
- LF-06-jet-hose-L.stl
- LF-06-jet-hose-R.stl
- 2x small power transfer cables
- LF-06-tank-hose-L.stl
- LF-06-tank-hose-R.stl
- 1x main engine
- LF-06-engine.stl
- various radio antenna
- LF-06-antenna-2.stl
- LF-06-antenna-3a.stl
- LF-06-antenna-3b.stl
- LF-06-antenna-4a.stl
- LF-06-antenna-4b.stl
- LF-06-antenna-5a.stl
- LF-06-antenna-5b.stl
Part 2
- main 'head' / 'sensor' unit
- LF-06-head.stl
Part 3
- 2x thrusters
- LF-06-jet-L.stl
- LF-06-jet-R.stl
- 2x medium hoses
- LF-06-leg-hose-L.stl
- LF-06-leg-hose-R.stl
- 2x leg springs
- LF-06-leg-2-L.stl
- LF-06-leg-2-R.stl
- 2x feet pins
- LF-06-leg-4-L.stl
- LF-06-leg-4-R.stl
- Upper torso section A
- LF-06-up-part-A.stl
Part 4
- Upper torso section B
- LF-06-up-part-B.stl
- 2x shield sections
- LF-06-shield-L.stl
- LF-06-shield-R.stl
- Gun
- LF-06-side-gun.stl
- Radiator
- LF-06-side-rad.stl
Part 5
- Lower hull section
- LF-06-low-section.stl
- 2x Fuel tanks
- LF-06-side-tank-L.stl
- LF-06-side-tank-R.stl
Part 6
- 2x Leg main sections
- LF-06-leg-1-L.stl
- LF-06-leg-1-R.stl
Part 7
- 2x Foot sections
- LF-06-leg-3-L.stl
- LF-06-leg-3-R.stl
Printing
Part 1
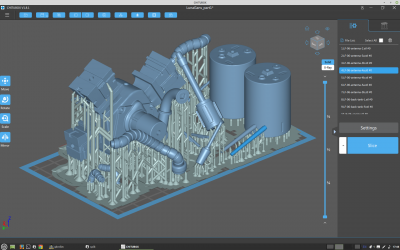
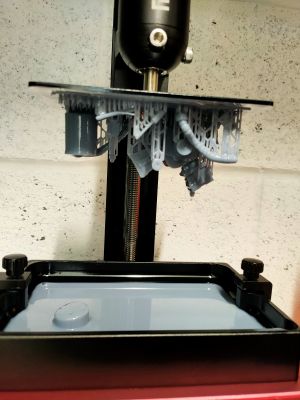
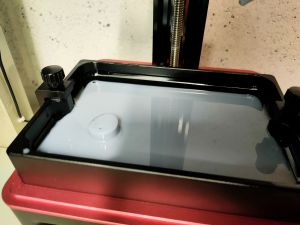
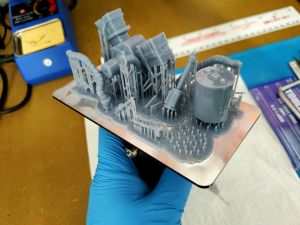
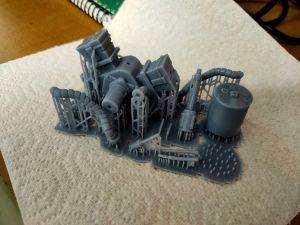
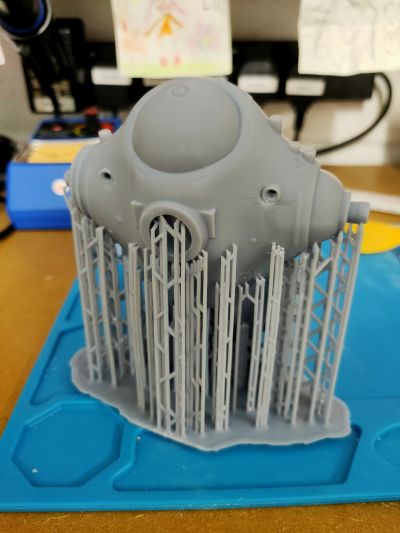
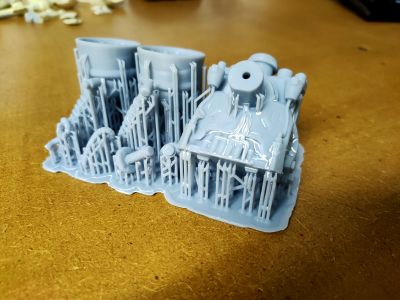
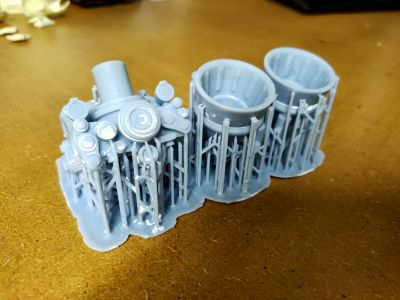
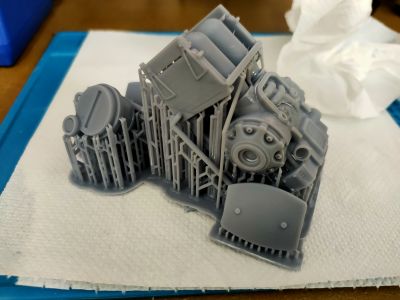
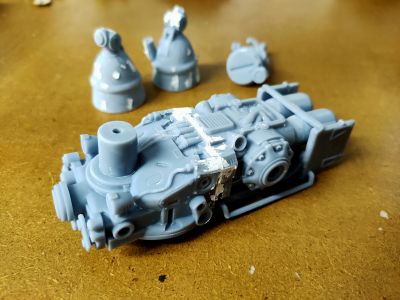
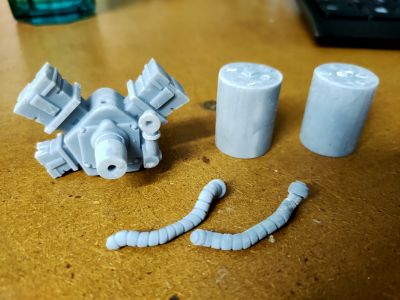
We didn't start off too well, I noticed one of the parts 'floating' in the resin vat, and it was clear that this wasn't a going to be a perfect print:
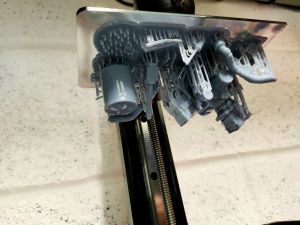
So almost all of it has printed fine - except;
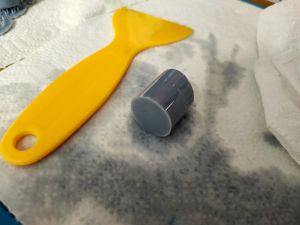
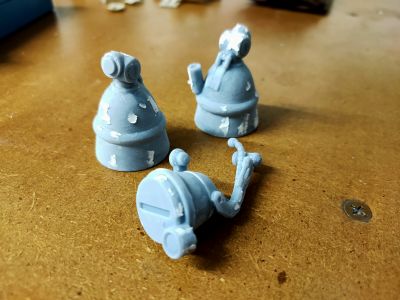
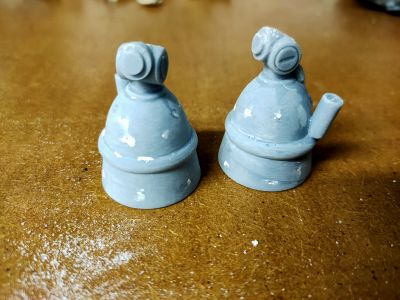
- Two cylinders - one detached from the build plate and floating in the resin, the other slightly misformed where the flat top didn't form properly
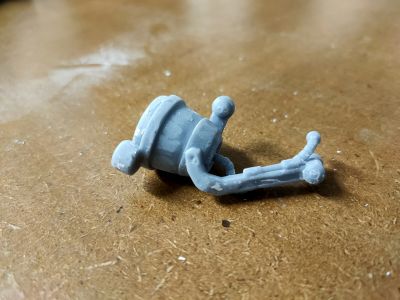
- One antenna - detached from the supports and bent
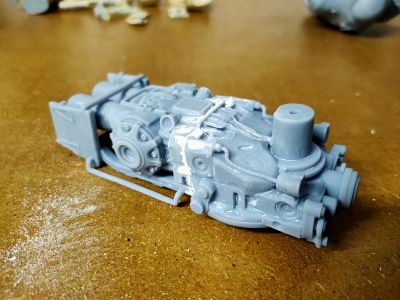
The main section; the engine block, power hoses etc are all good. I think it's yet another case of needing to angle the parts away from the build plate to get a decent quality.
Part 2
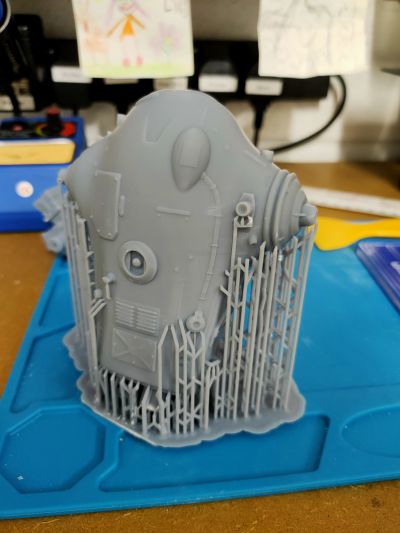
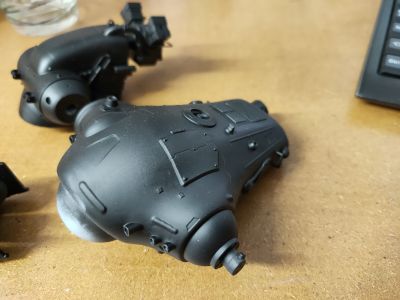
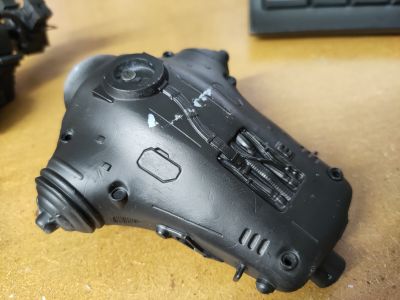
Part 2 of the model, the largest single piece (which just fit on the build area at 80% size) printed absolutely perfectly:
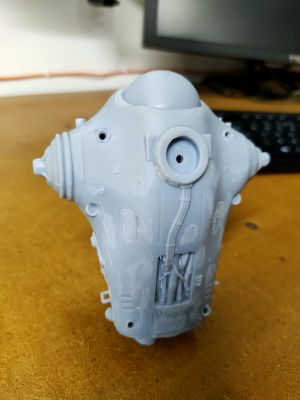
Cleaned up, with some initial filing of the support nubs, it's looking very crisp and clean. I'm impressed with the output quality:
Part 3
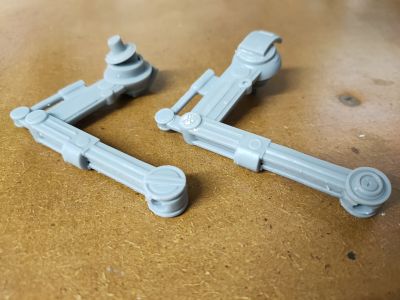
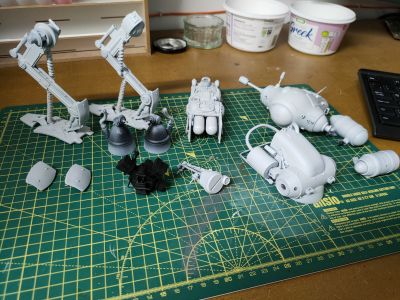
Part 3, thrusters, part of the central torso assembly and some smaller parts (hoses, suspension) all printed nicely:
Part 4
Part 4 has the second part of the main torso assembly, the front 'radiator/sensor module' and a couple of small shield panels. All the parts printed nicely again.
I took this opportunity to clean up and fill with putty and of the parts printed so far:
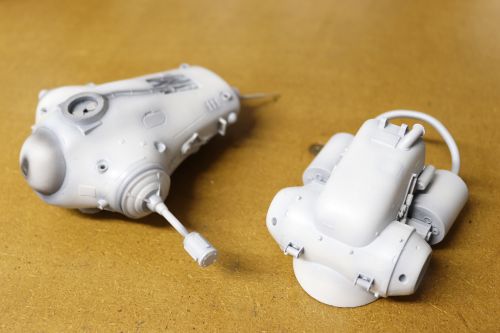
Two of the big pieces from part 3 and part 4 connect together, they needed pinning and a little bit of filler to hide the seam:
Part 5
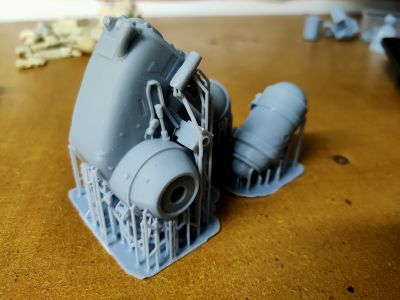
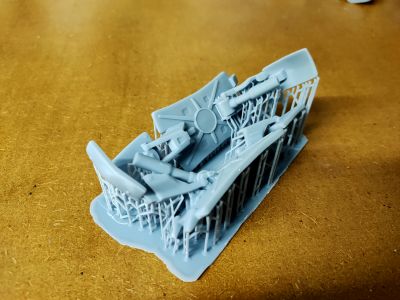
Part 5 had the lower torso, the section which the legs and engine unit are attached to, plus the two big side fuel tanks.
Everything printed perfectly, I had some runs from resin which leaked from the drain hole in the two tanks, but nothing that couldn't be cleaned up afterwards.
Part 6
Part 7
Part 7 has the two feet.
Straight out from curing, and then supported removed and cleaned up a little bit:
Part 8 - Fixes
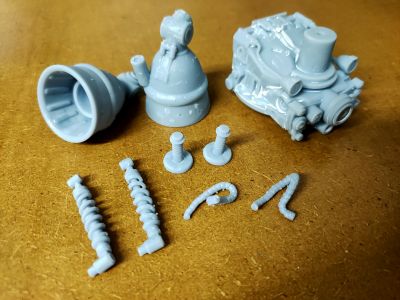
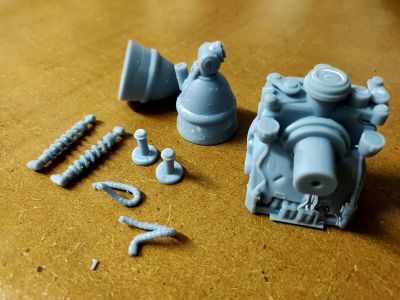
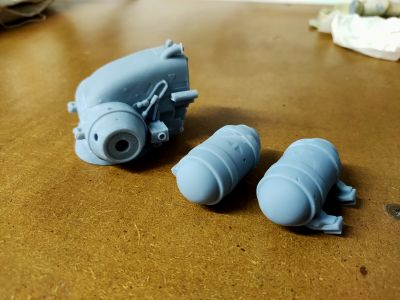
Part 8 consists of several replacement parts that either didn't print correctly (the smaller fuel tanks from part 1) or were not properly scaled (the hoses also from part 1).
Again, print quality had no problems.
In-Progress Images
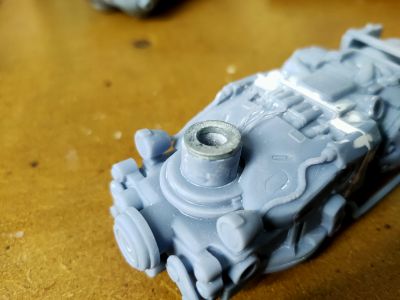
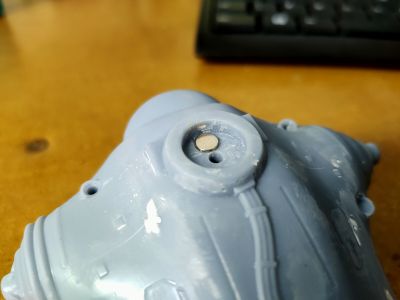
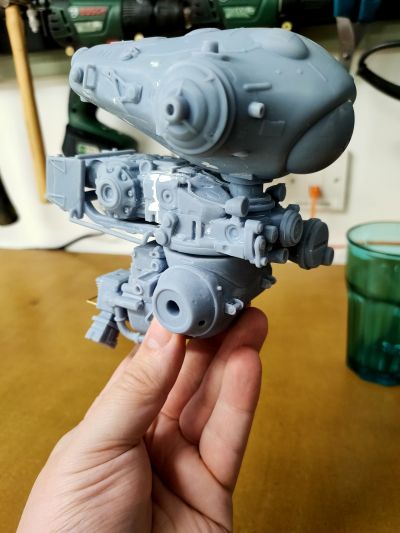
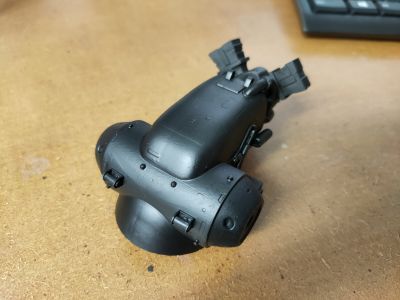
I used a pair of small neodymium magnets and a steel washer on the 'neck' of the model to allow the head to be rotated:
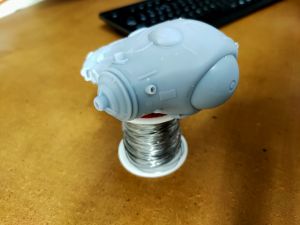
…. here's the head attached using the magnets, you can easily rotate it, but with a strong pull it can be detached:
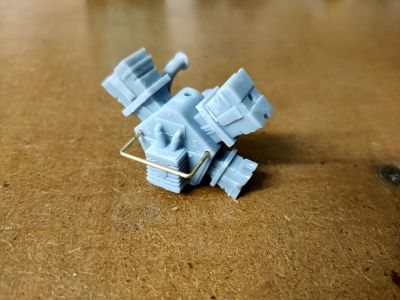
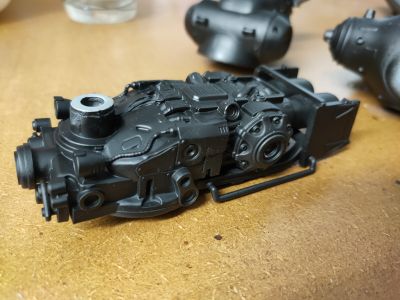
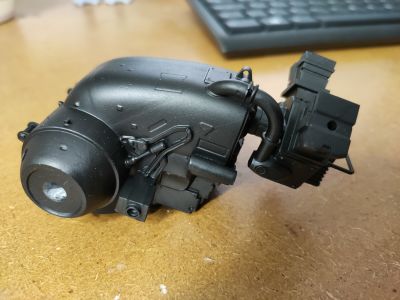
I also replaced the resin 'guard rail' on the engine part with brass rod, since the original part was simply far too fragile:
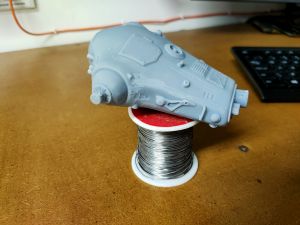
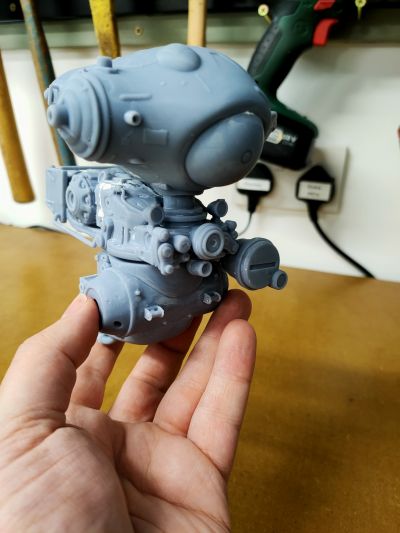
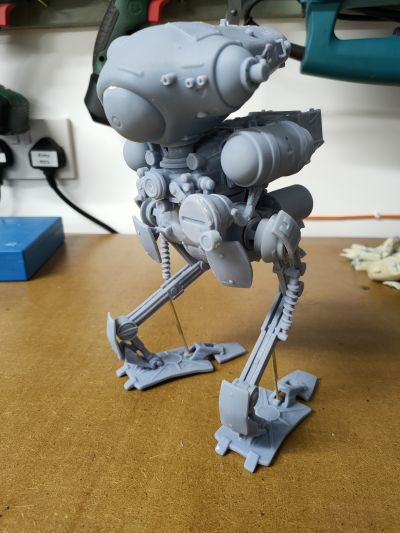
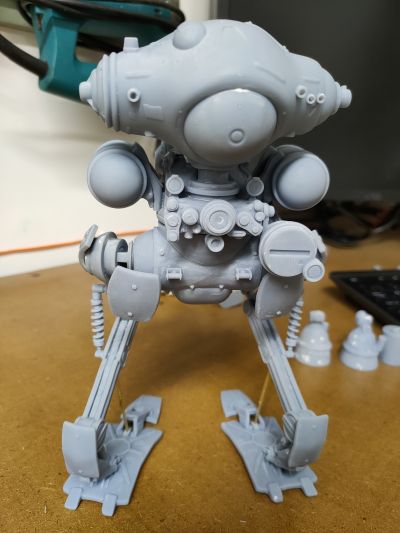
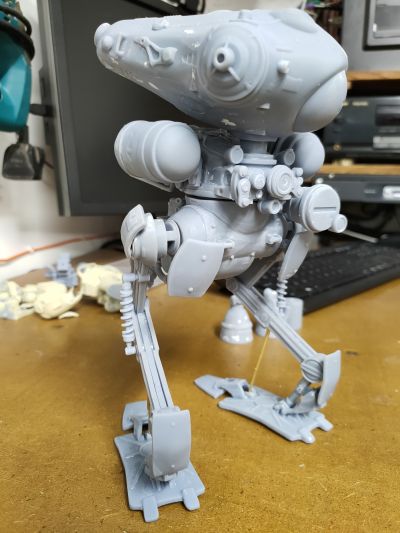
Test fit of all the major parts:
It's big!
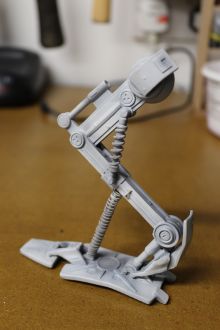
I've had to make extra supports for the legs, since the weight of the resin is clearly way more than their resin construction can cope with. These will be built up into structures that appear to be extra coilover suspension units using brass tubing and coiled wire, just like the fixed resin parts above the knee joints.
[Update - 23rd July 2021] - Primed all of the individual parts, plus those that have had filler applied to see what other work needs doing:
I'm happy with the seam on the two central sections, the lower hull looks okay too, the only bit that needs a little more work is the head, and it is mainly the underside and a small section on the rear. A small amount of work with a finer file should resolve it.
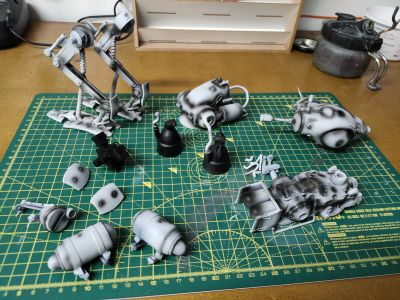
[Update - 1st August 2021] - Final primer and pre-shading of all the parts, ready for base colour to be applied (which will probably be a light grey or off-white):
All the major parts are drilled and ready to be glued and pinned at this point, so there shouldn't be any drilling needed once the final paint colours are applied. I'm using the technique I use with most of my Gundam models, in that I'm leaving all of the sub-components seperate and painting them before assembling. Weathering etc will be done once the model is fully assembled, but I learned from painting the first 3D resin print, the Ma.K Friedrich that my airbrush and detailing techniques don't lend themselves to fine control on assembled models!
[Update - 4th August 2021] - Applied an initial shading layer (MIG Ammo, Light Grey) to the lower hull, head (bottom half only) and one of the legs:
These will get some lighter highlights and then some mid-grey camo patterns added.
