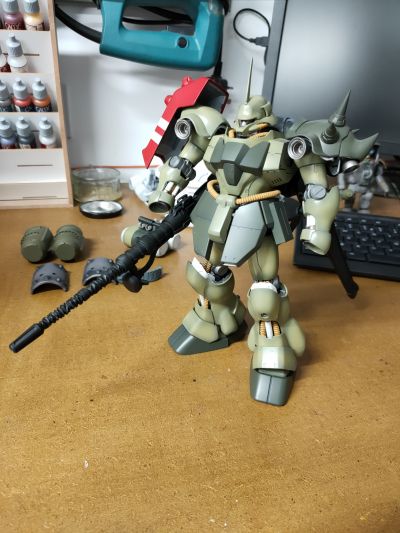
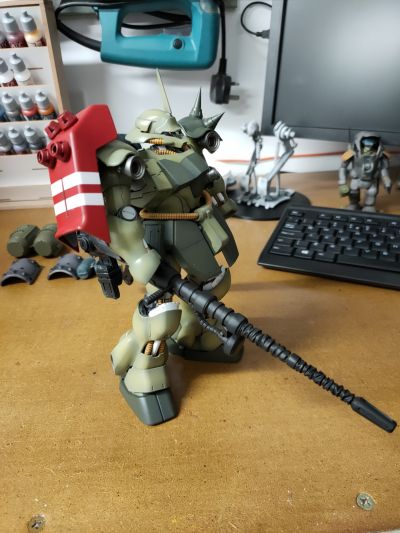
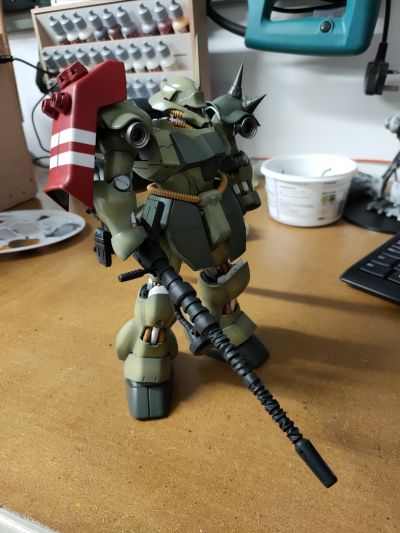
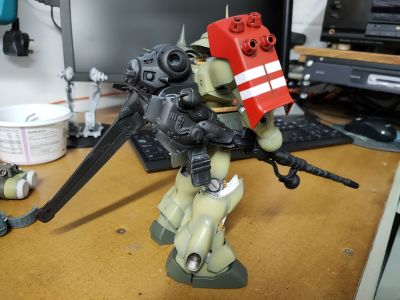
Table of Contents
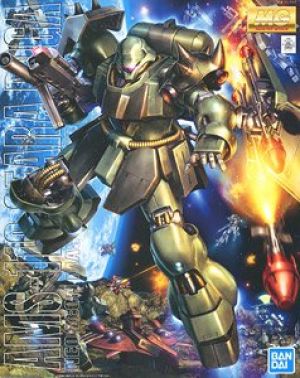
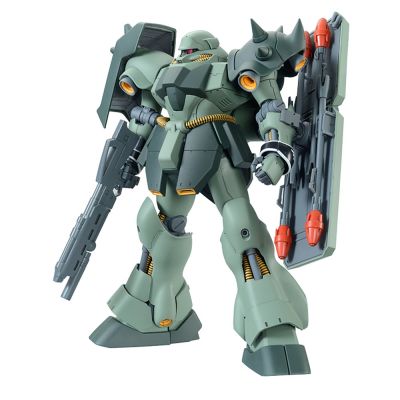
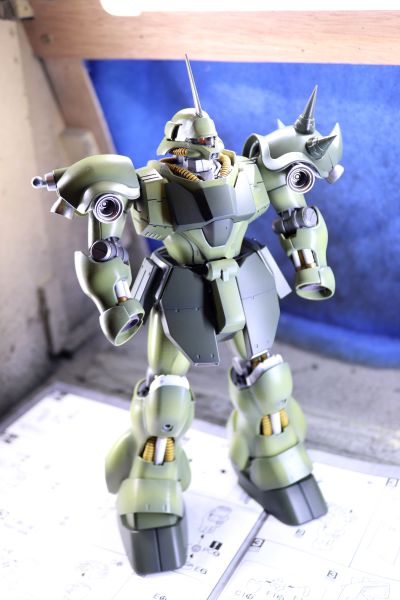
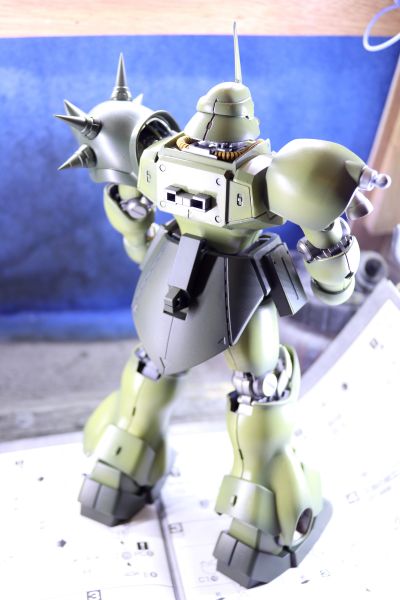
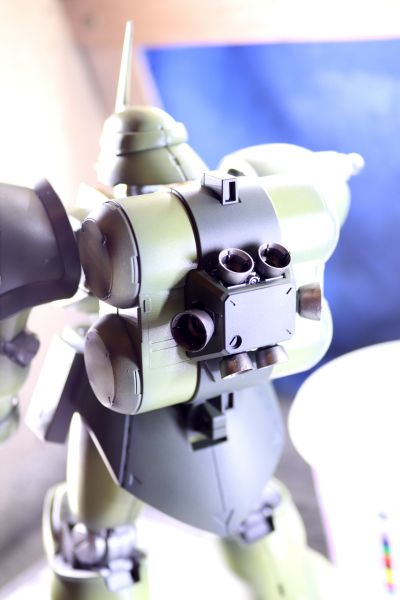
Master Grade 1/100 Geara Doga (Heavy Armed Type)
- Manufacturer: Bandai
- Part number: BAN983648
- Year of production: 2013
- Gundam in-universe model number: AMS-119 Gear Doga
- Scale: 1/100
- Series: Mobile Suit Gundam: Char's Counterattack
- Kit type: MG
- In-universe role: Mass-production general-purpose mobile suit
- Build date: June 2021 (started)
Also, for the option parts:
- Manufacturer: Industriac Gear (or Industrial Gear, depending on where you look)
- Scale: 1/100
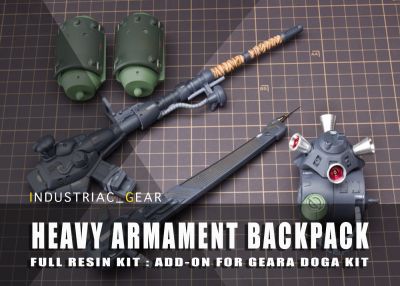
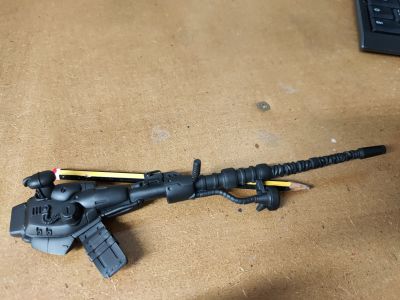
- Kit type: Resin detail parts (long range gun & backpack)
- In-universe role: Heavy Armed Type option
Manufacturer Images
Tools Used
- Mr Tools snips
- Hobby knife with various blades
- Hand-held twist drill
- Badger ultimate sanding sticks
- Milliput Superfine modelling putty
- Loctite gel superglue
- Steel wire (for reinforcing resin parts)
Extra Parts
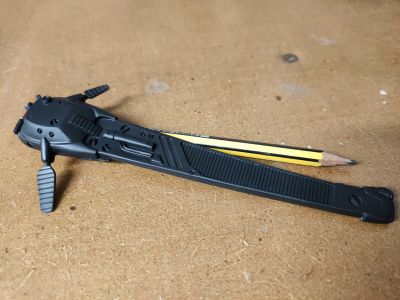
- Bandai Builders Parts HD - MS Spike Kit 01 (shoulder armour & shield)
- Bandai Builders Parts HD - MS Vernier 01 (heavy armament backpack only)
Paints
- Inner frame
- Ultimate Primer, grey
- AK Interactive Xtreme Metal, gun metal
- Inner frame (shoulders/details)
- Ultimate Primer, grey
- AK Interactive Xtreme Metal, white aluminium
- Outer frame (dark green)
- Vallejo Surface Primer, olive drab
- Pre-shading Vallejo Model Air, blaugrau
- Vallejo Mecha Colour, dark green +4 drops Vallejo Model Air, grey violet +10 drops Vallejo Model Air, black
- Outer frame (light green)
- Vallejo Surface Primer, desert tan
- Pre-shading Vallejo Model Air, nato black
- MIG Acrylic, graugrun RAL7008
- Weapons/backpack
- Ultimate Primer, grey
- (Main colour) Vallejo Model Air, blue grey + 5 drops MIG Ammo, medium gunship grey + 5 drops Vallejo Mecha Colour, titan blue
- (Barrel heat shroud) Vallejo Game Colour, desert yellow, Vallejo Game Colour, khaki, Vallejo Game Colour, dead flesh
- Feet, under-armour, propellant tank armour
- Vallejo Surface Primer, white
- MIG Acrylic, gunship grey +3 drops Vallejo Model Air, nato black +10 drops Vallejo Mecha Colour, magenta
- Leg/Arm pistons
- Vallejo Surface Primer, white
- Vallejo Mecha Air, white
- AK Interactive Xtreme Metal, pale brass
- 'Spike' shield
- Outer: Vallejo Surface Primer, german red brown
- Pre-shading Vallejo Model Air, blaugrau
- Outer: Vallejo Model Air, red RLM23, stripes in Vallejo Mecha Colour, pure white
- Inner: Vallejo Surface Primer, white
- Pre-shading Vallejo Model Air, blaugrau
- Inner: Vallejo Mecha Colour, grey z
- 'Jointed' shield
- Outer: Vallejo Surface Primer, german red brown
- Outer pre-shading Vallejo Model Air, blaugrau
- Outer: ???
- Inner: Vallejo Surface Primer, white
- Inner pre-shading Vallejo Model Air, blaugrau
- Inner: Vallejo Mecha Colour, grey z
- Panel lines (flexible tubing)
- Tamiya Panel Line accent brown
- Panel lines (armour panels, frame)
- Tamiya Panel Line accent black
Thoughts
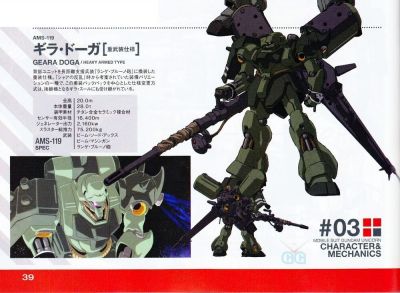
The Geara Doga is one of the later incarnations of the typical Zeon 'mono eye' suits - clearly a descendent of the Zaku line. It's big, chunky and has spiked shoulder armour and a shield… what more could mark it out as a Zeon design? 
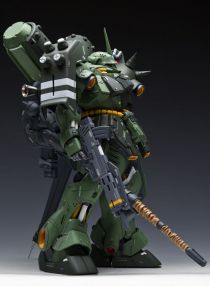
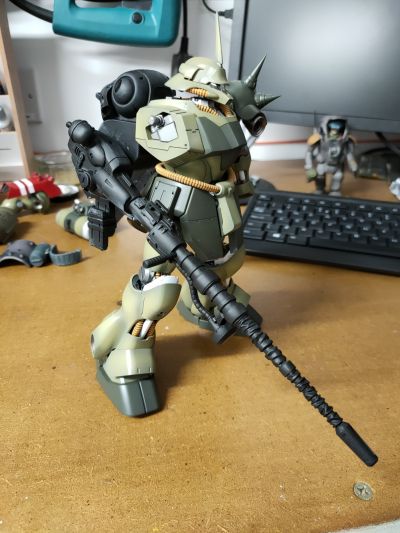
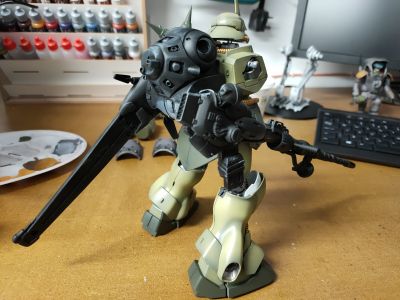
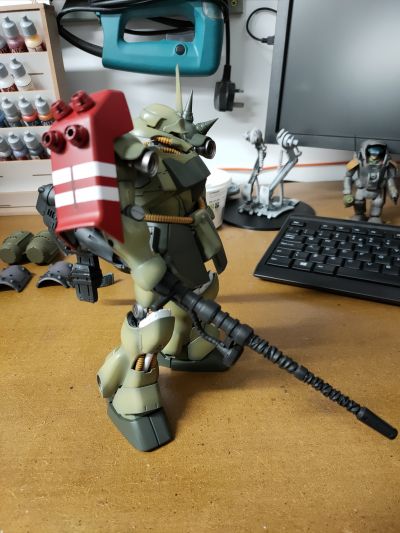
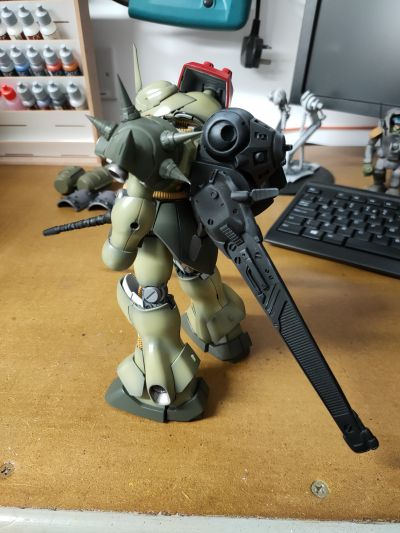
I spotted the heavy armed variant in a couple of online pages (including the Gundam wiki) and I loved the difference that the huge backpack and enormous cannon made to the design:
Unfortunately the heavy armed type isn't actually available in kit form from Bandai - they only make a 1/144 High-Grade and a 1/100 Master-Grade kit of the base model. There are a couple of resin conversion kits to up-detail the Geara Doga, including a really nice one from Industrial Gear… unfortunately when it went on sale in 2019/2020 it sold out extremely fast, but, I was lucky enough to get the partial kit - containing just the heavy weapon backpack and long range gun.
Unusually, for a non-Gundam suit, the 1/100 MG Geara Doga also has space for a LED unit to light up the head/eye section.
In Progress Images
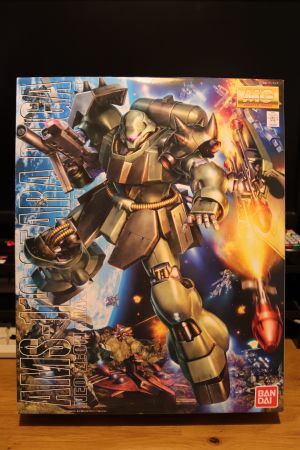
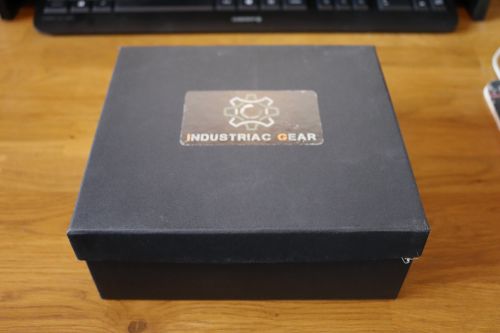
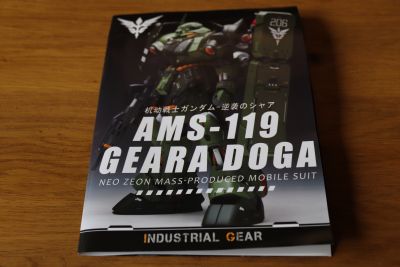
Gear Doga Box art…
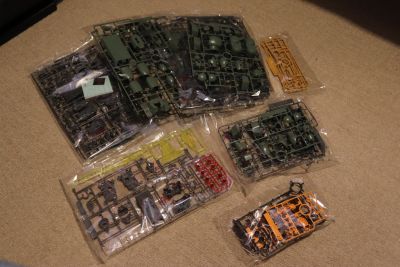
Contents…
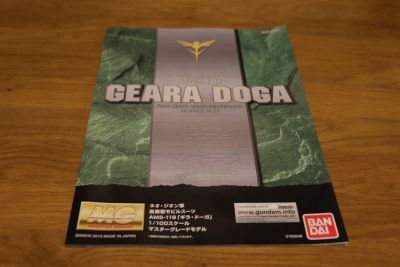
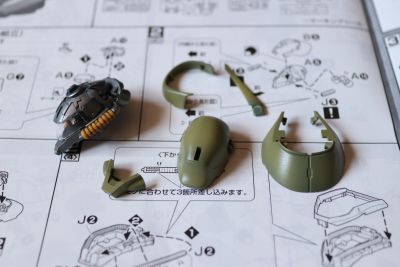
Manual…
Heavy Armament packaging…
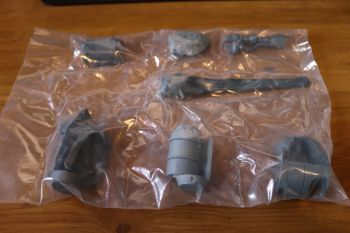
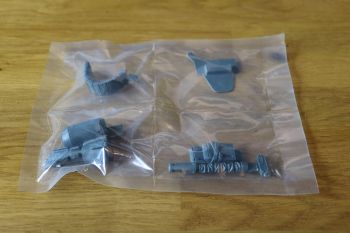
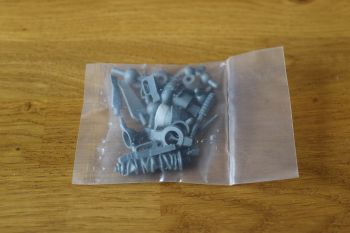
Resin parts…
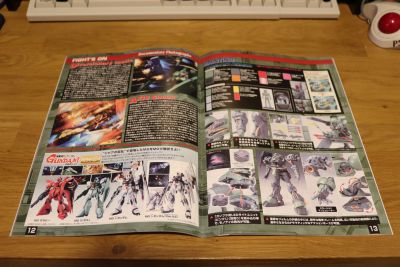
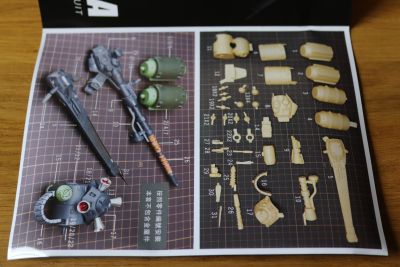
Heavy Armament manual… well, a set of glossy fold-out photos:
[Update 19th June 2020] - Started building the kit, first cleaning up and assembling the Heavy Armament kit…
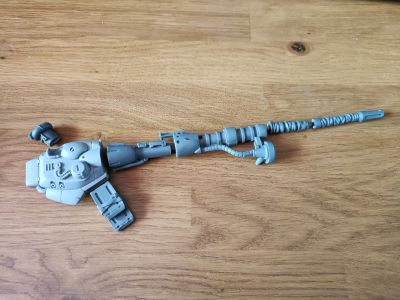
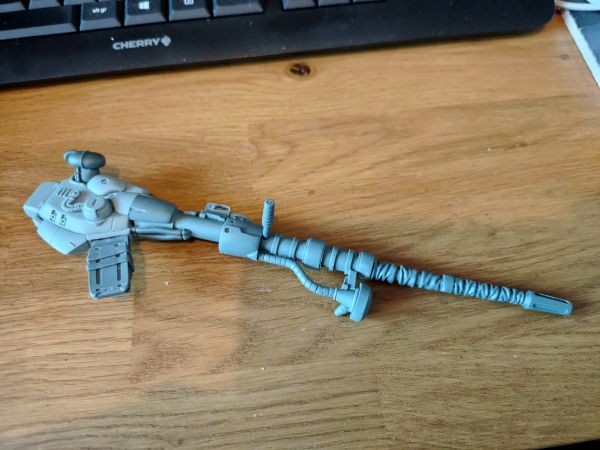
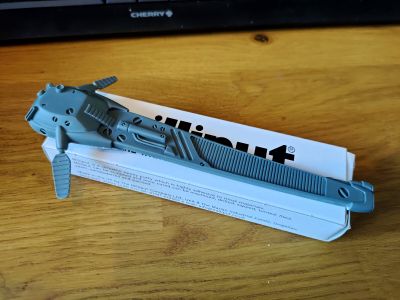
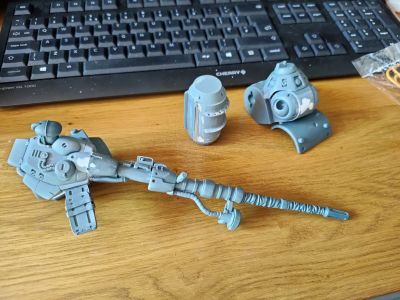
The long range gun pieces placed together… it's big…
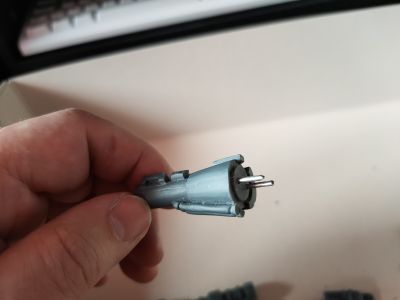
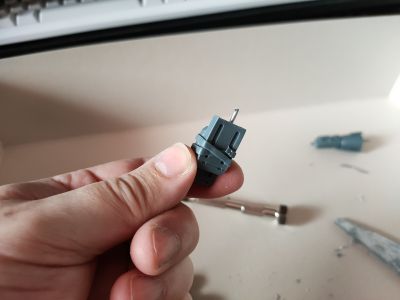
Using steel wire as pins to locate the pieces together more securely…
Dry fit (no glue) of the barrel and main body of the gun…
Gun pinned and glued…
Stabliser/heatsink assembled…
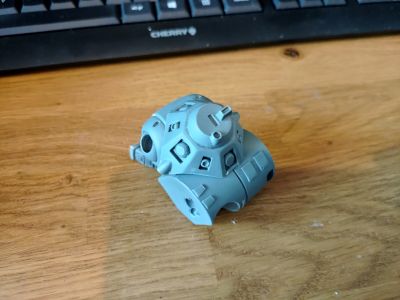
Replacement backpack module…
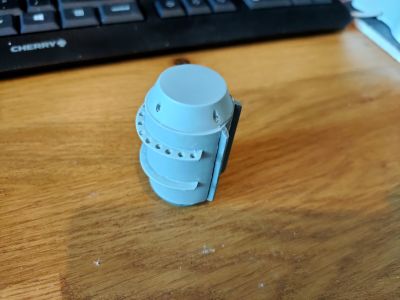
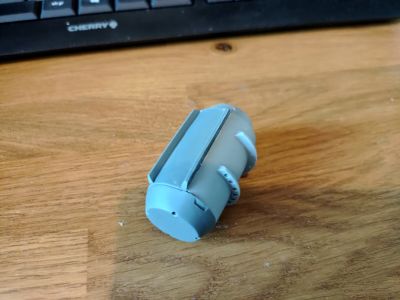
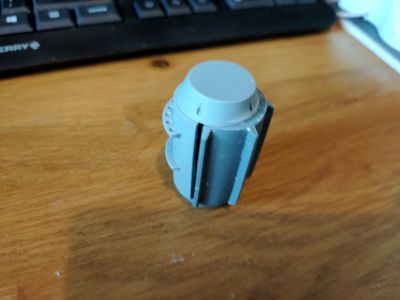
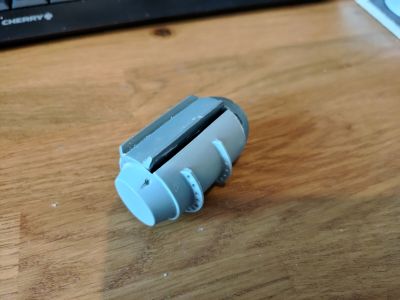
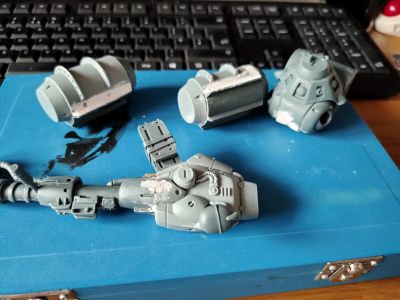
Propellant tanks. These need the most amount of rework - compared to the other resin parts the fit on these isn't great. Two of the halves fit together reasonably well, but the other pair leaves a lot to be desired and is probably going to need filling with modelling putty and sanding:
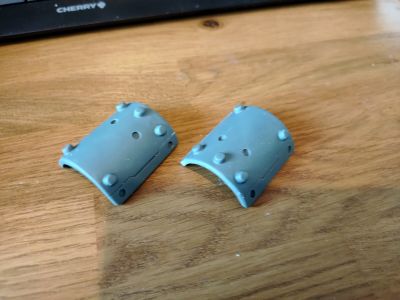
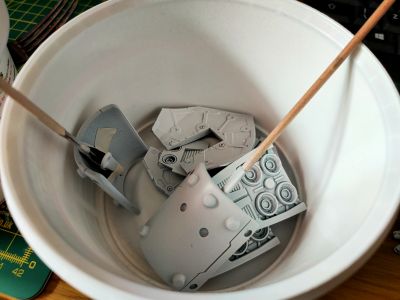
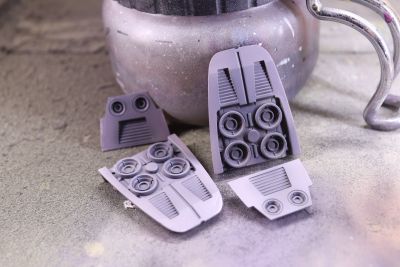
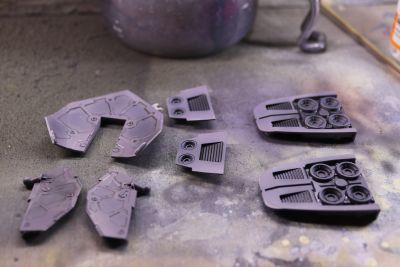
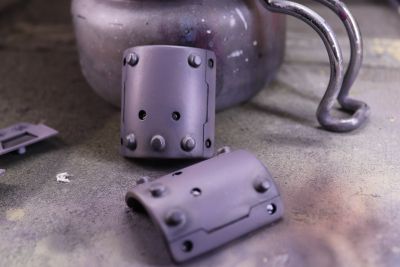
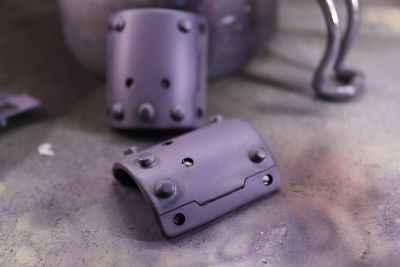
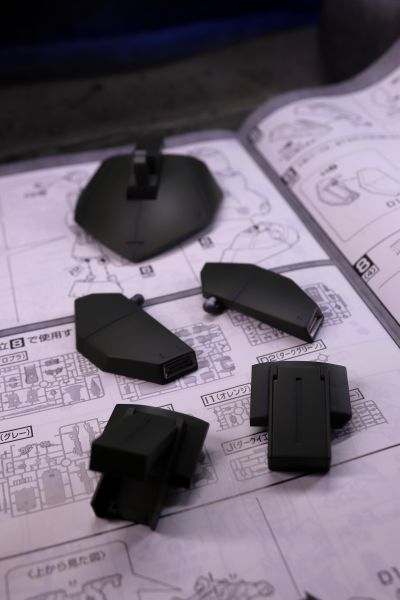
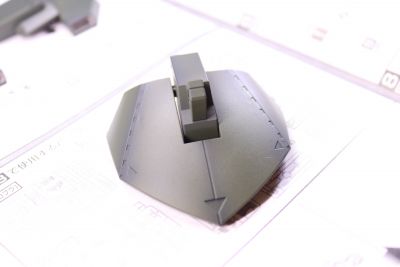
Propellant tank armour panels…
[Update 21st June 2021] - Mixed up some Milliput modelling putty and filled in the gaps on the assembled resin parts…
Most of the big holes/imperfections covered. Note that I'm not spending loads of time on the big propellant cylinders - almost all of it will be hidden by the armoured panel which wraps around them:
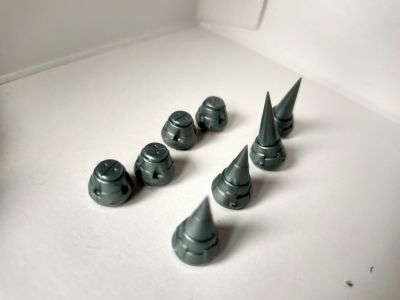
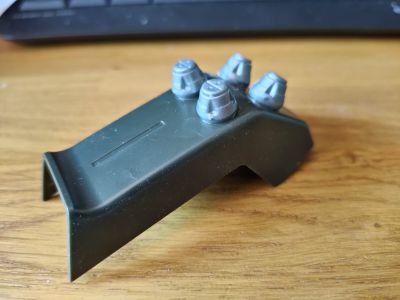
Using detail parts from the Bandai MS Spike 01 set:
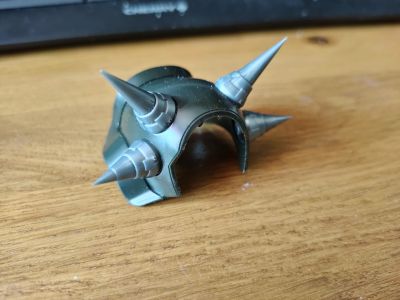
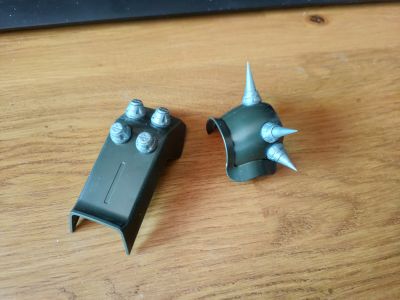
Spikes fitted to the Geara Doga shoulder armour in place of the plain spikes supplied with the kit:
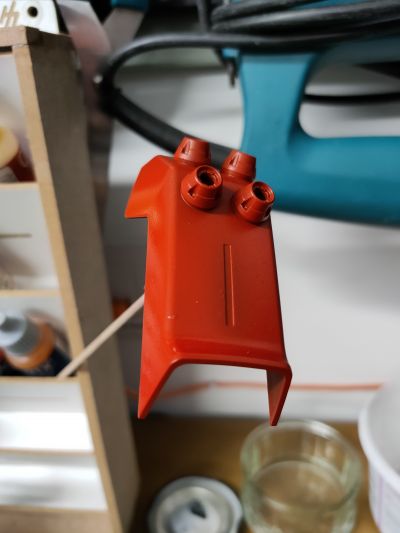
Spike/grenade launchers fitted to the arm shield in place of the plain parts supplied with the kit:
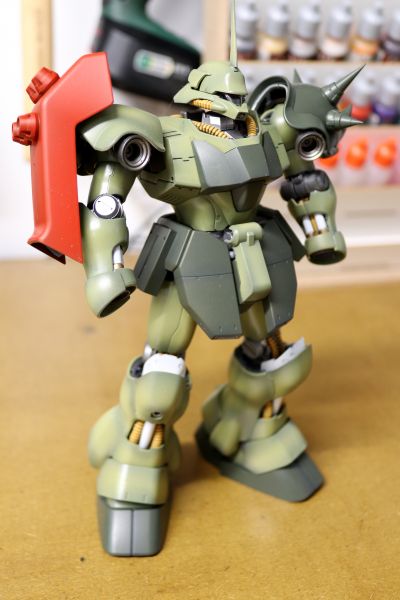
Upgraded parts in place:
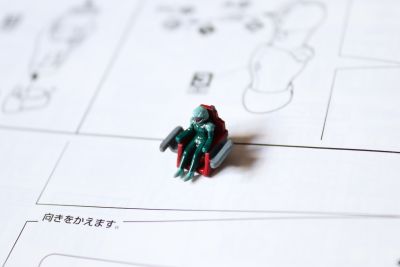
[Update 22nd June 2021] - Starting prep for painting, including colouring the teeny weeny pilot and cockpit chair before building up the sub-components for priming:
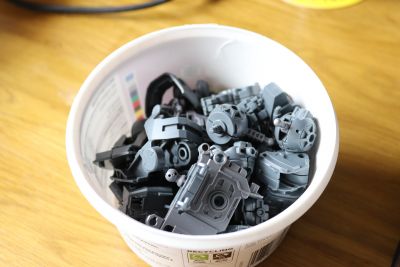
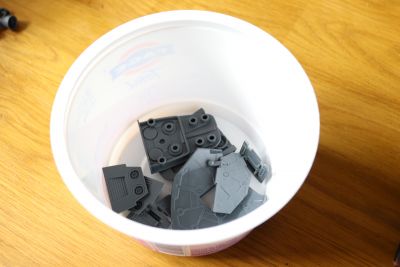
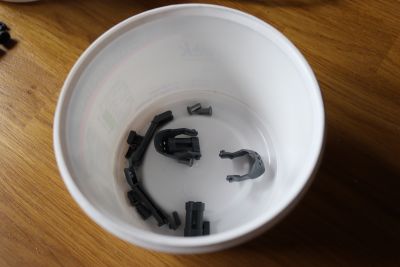
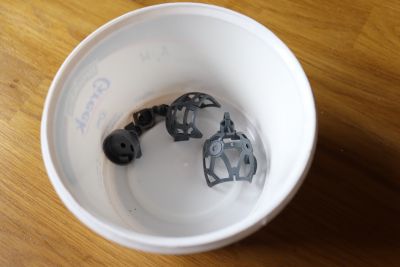
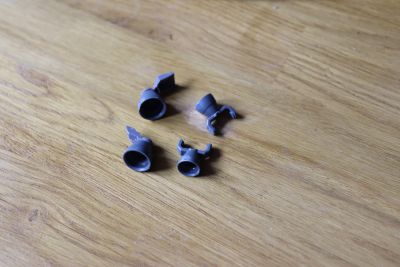
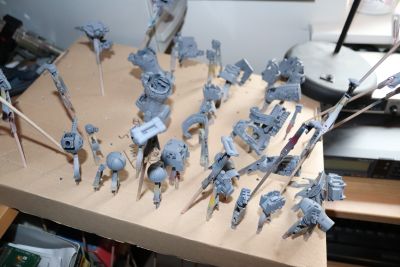
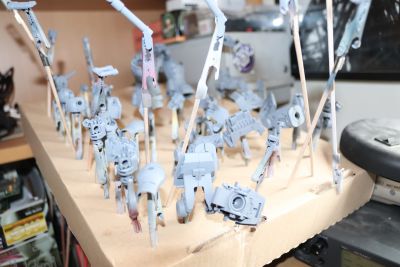
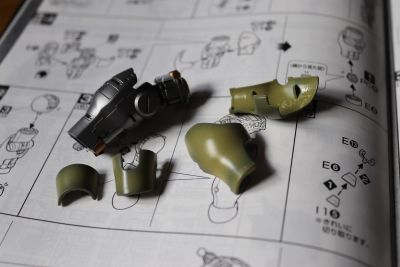
Parts all seperated and sub-components assembled, where possible…
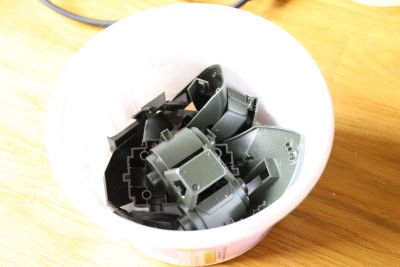
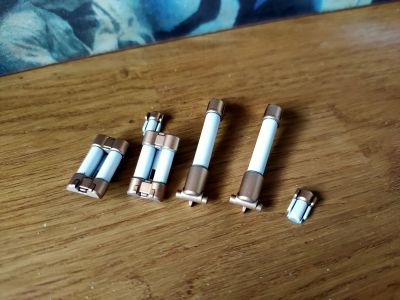
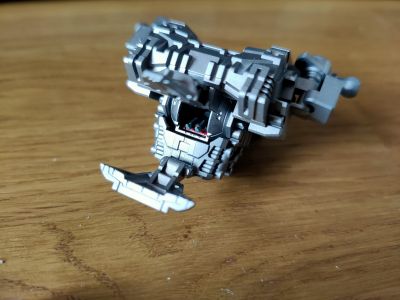
From left to right; main inner frame components (to be painted in a dark metallic), inner armour/feet (to be painted in a flat, dark grey) and pistons, small components (to be painted in white):
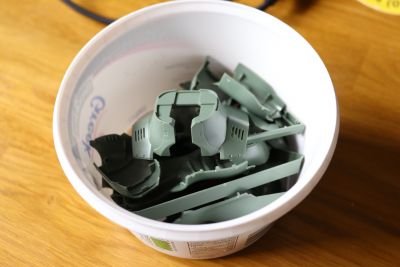
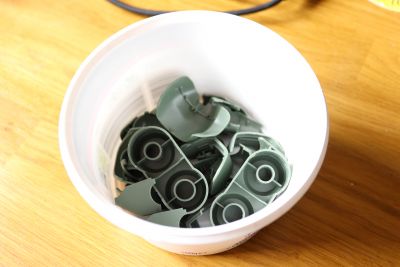
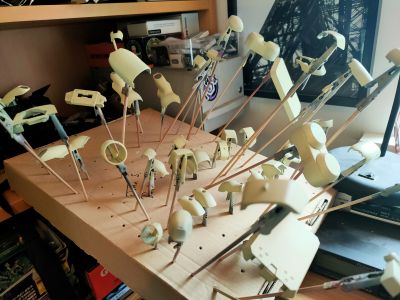
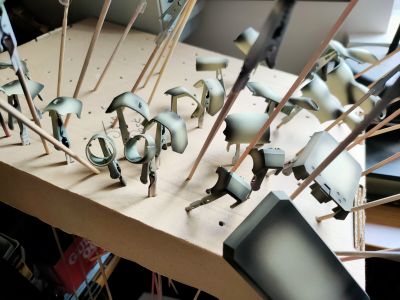
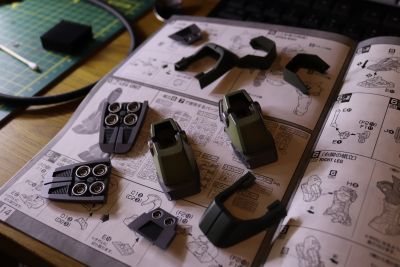
From left to right; armour support panels (to be painted in a light metallic/silver), shoulder thrusters (to be painted in a dark/smoky metallic), outer armour panels (to be painted in a darker green):
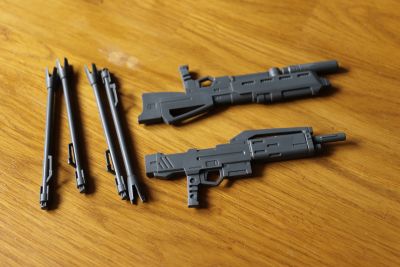
From left to right; outer armour panels (to be painted in a light-mid green), outer armour panels (to be painted in a light-mid green) and finally, weapons (to be painted in a flat grey/blue):
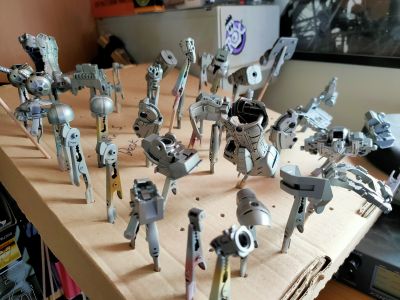
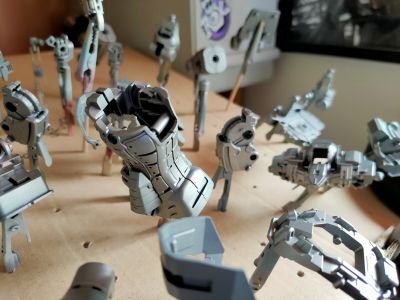
[Update June 23rd 2021] - Primed all inner frame parts (Ultimate Primer, grey)…
Painted inner frame (AK Interactive Xtreme metal, gun metal)…
Pistons painted and inked
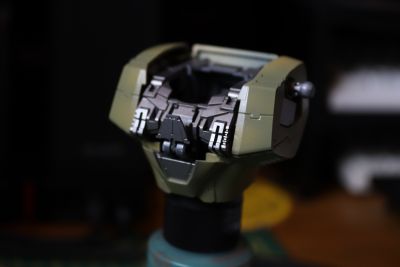
Torso assembly:
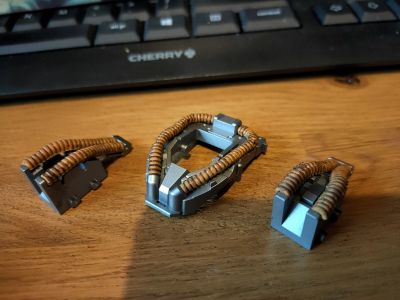
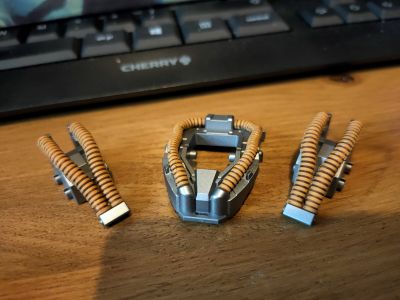
Inking and cleaning rubber pipes:
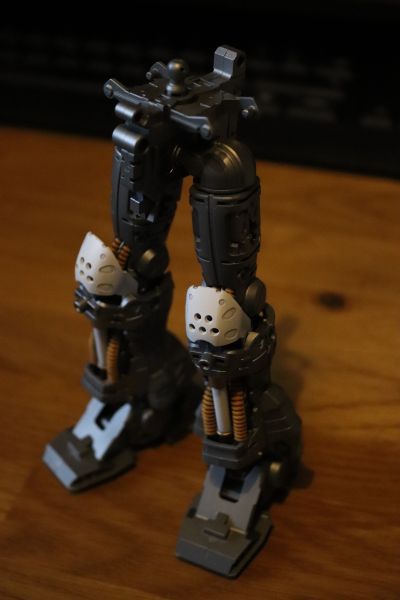
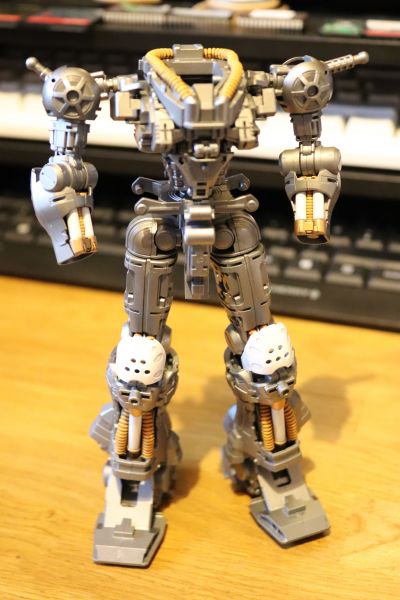
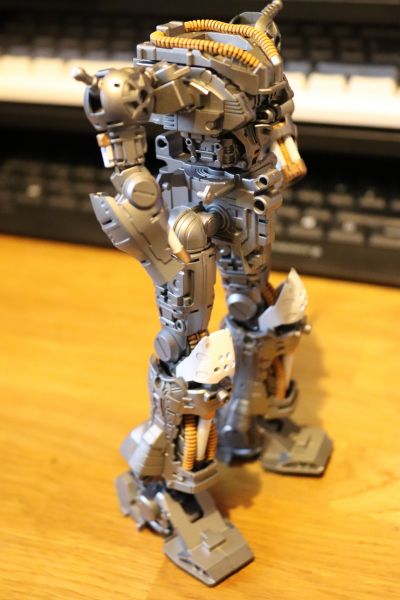
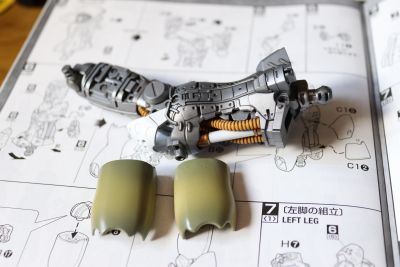
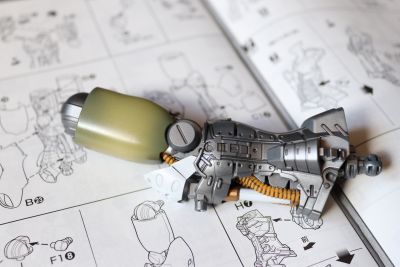
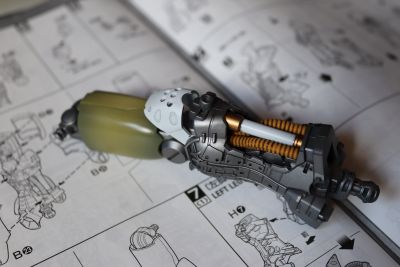
Assembling legs:
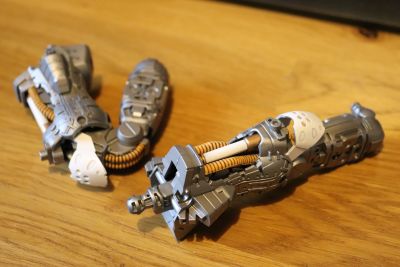
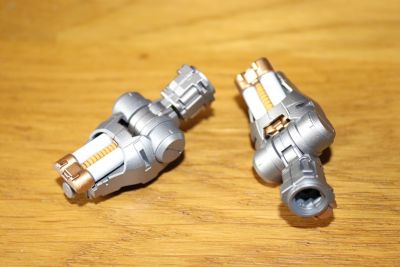
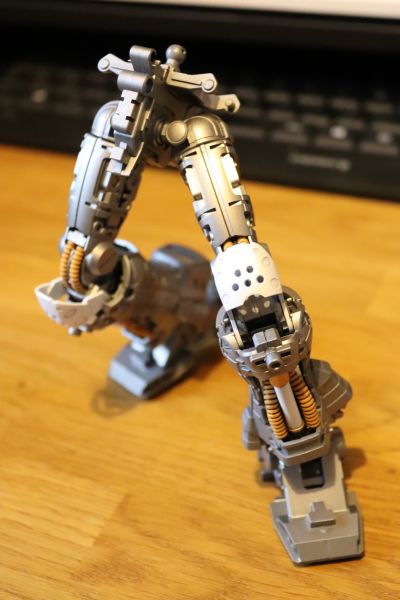
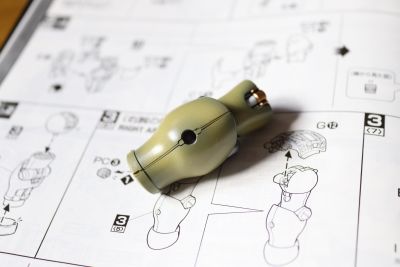
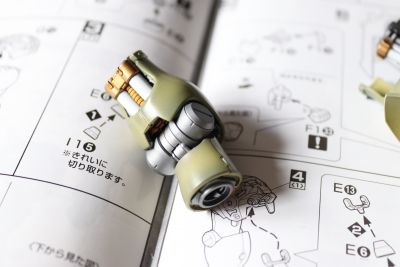
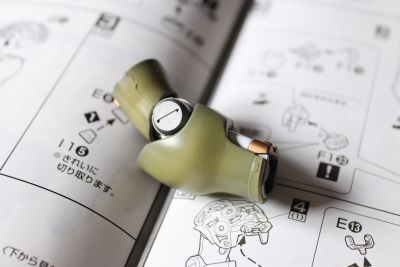
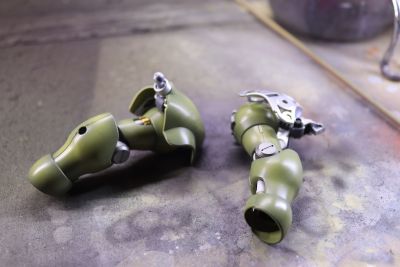
Assembling arms:
Leg movement:
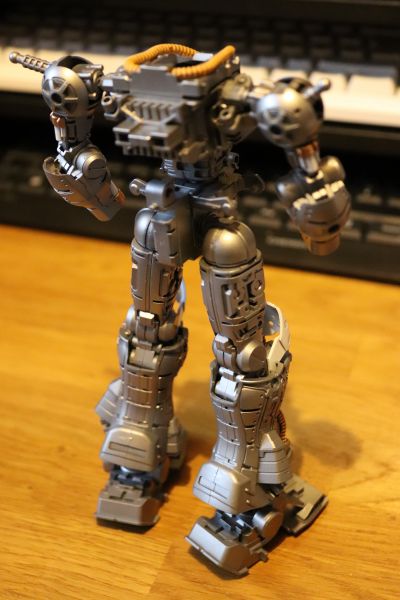
Assembling torso, waist and arms, no panel lining or details applied to inner frame yet:
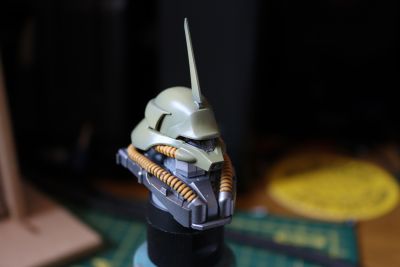
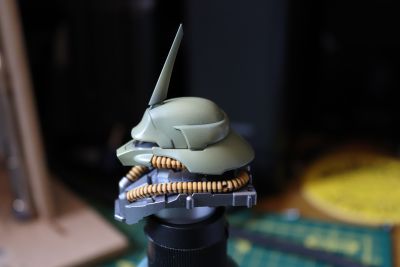
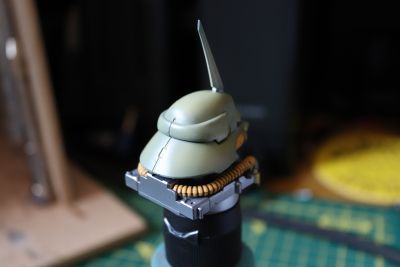
Head assembled (mono-eye camera painted in MIG Acrylic Crystal orange):
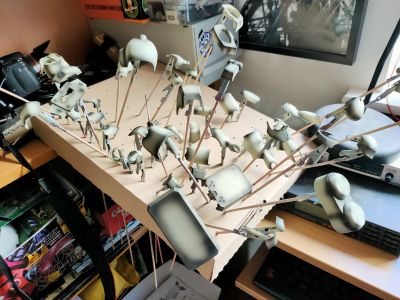
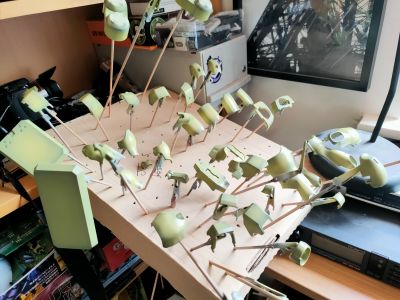
[Update - July 2nd 2021] - Primed outer light-green armour panels (Vallejo Surface Primer, desert tan) in a light colour as I want to get some pre-shading done on them and wasn't confident that a green base would show up very well:
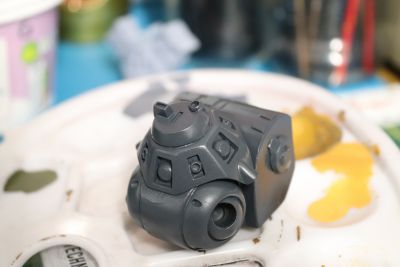
Primed grey under-armour panels, feet and propellant tank armour plates (Vallejo Surface Primer, white). They will get pre-shading in black later:
[Update - July 4nd 2021] - Pre-shaded the light-green armour panels (Vallejo Model Air, nato black):
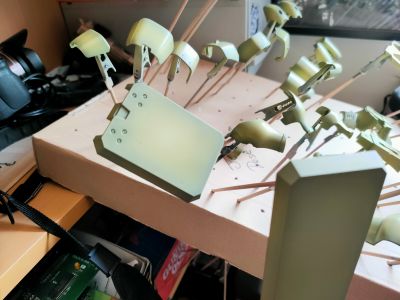
Exterior armour panels feathered in (MIG Acrylic, graugrun RAL 7008 + 2 drops of Vallejo Model Air, blue grey):
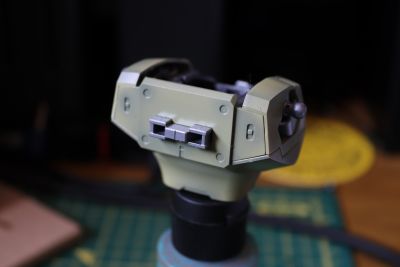
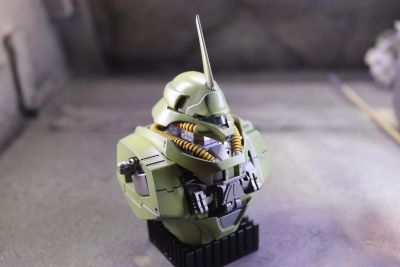
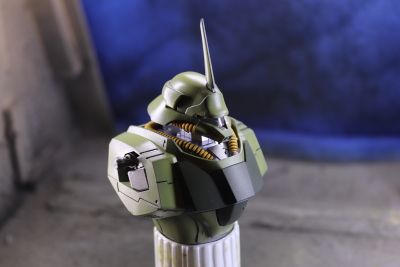
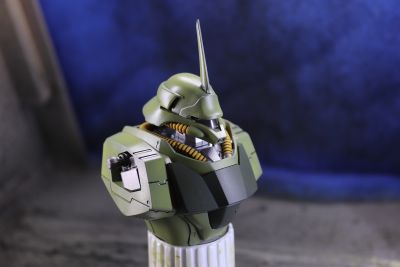
Main torso assembly:
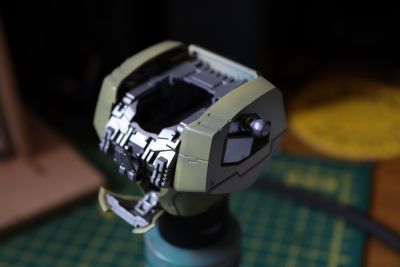
Head assembly:
Arms assembly:
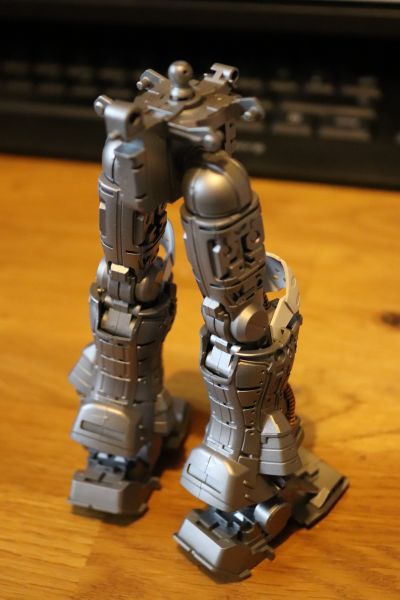
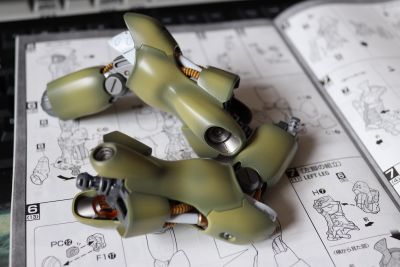
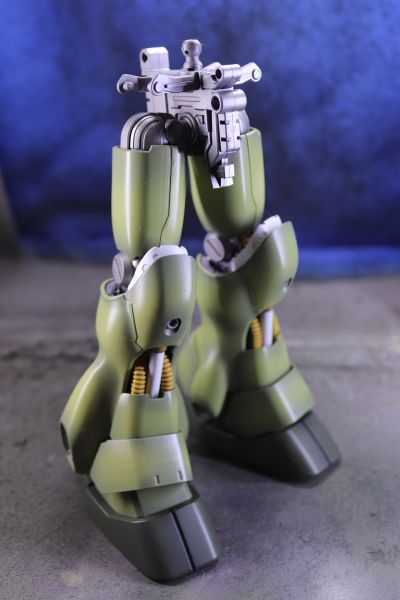
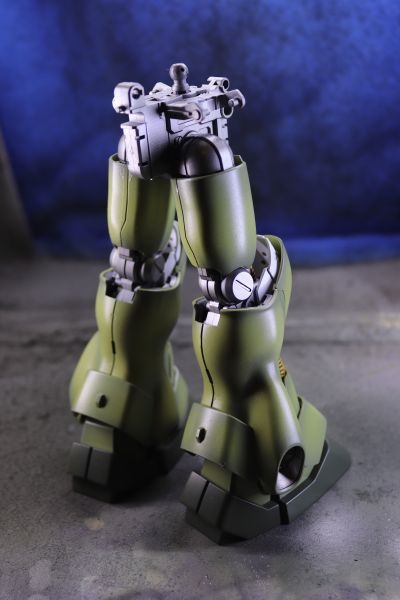
Leg assembly:
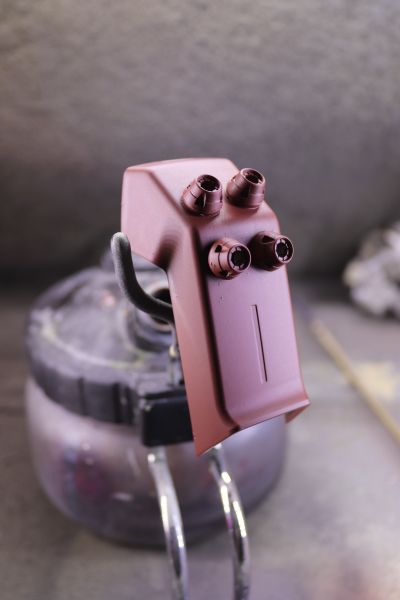
Primed shield (Vallejo Surface Primer, german red brown):
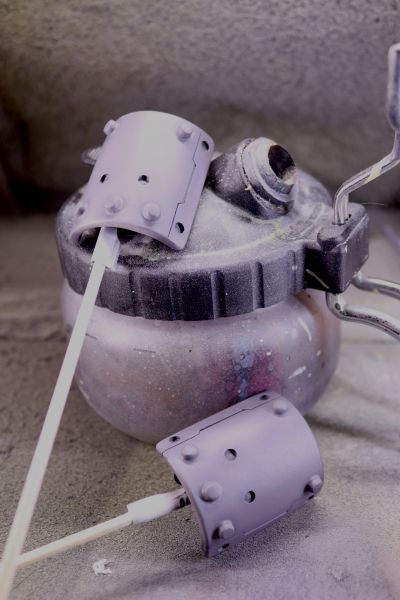
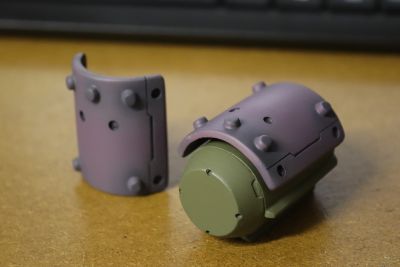
Propellant tank armour panels and feet (MIG Acrylic, gunship grey +3 drops Vallejo Model Air, nato black +10 drops Vallejo Mecha Colour, magenta). In this image the feet still need to have the thrusters masked and then picked out in a metallic colour:
Feet and inner armour panels inked:
Propellant tank armour panels inked/weathered… unfortunately one of them (foreground) I messed up while cleaning off the ink and managed to take off some of the grey paint around a couple of the armour 'nubs' - it will need a small touch up:
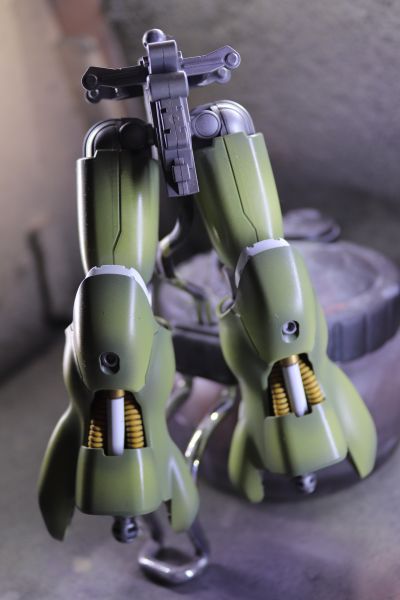
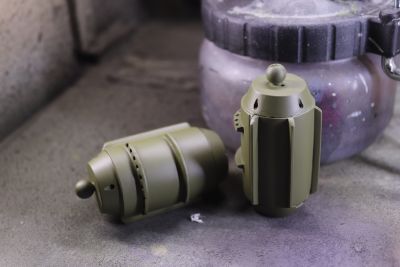
Propellant tanks primed (Vallejo Surface Primer, olive drab):
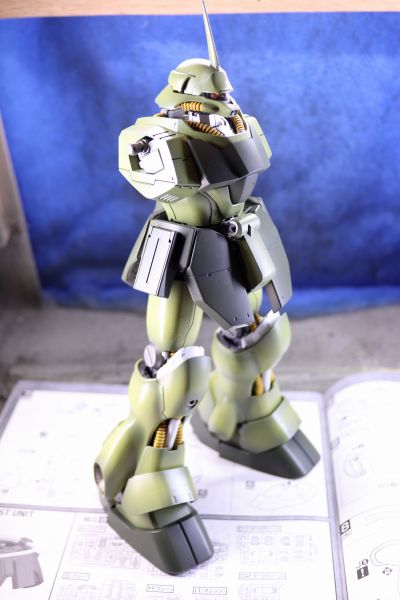
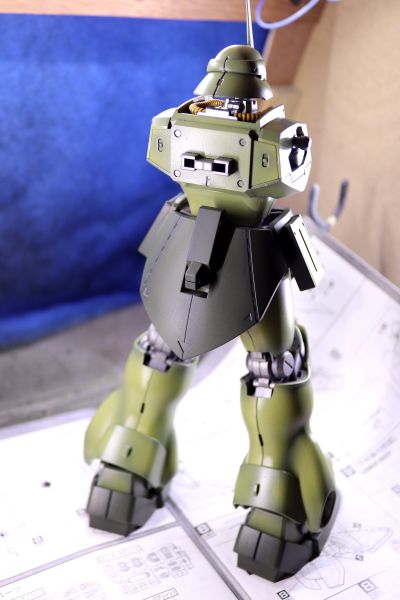
[Update - July 6th 2021] - Torso completed:
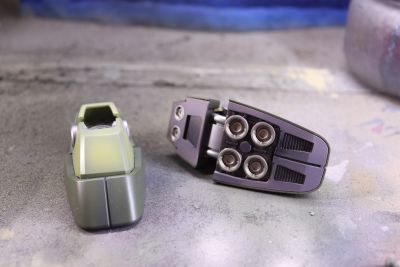
Assembly of feet, including painted thrusters:
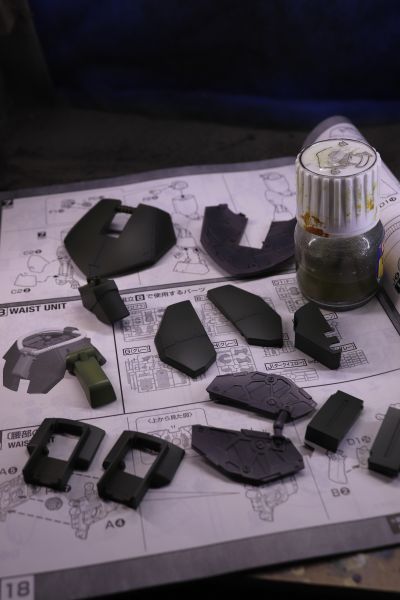
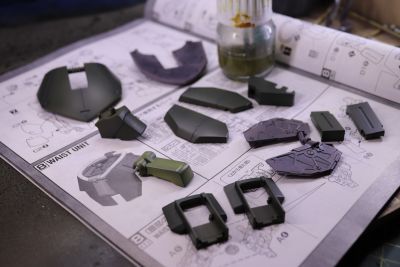
Assembling waist armour:
Assembling shoulder armour:
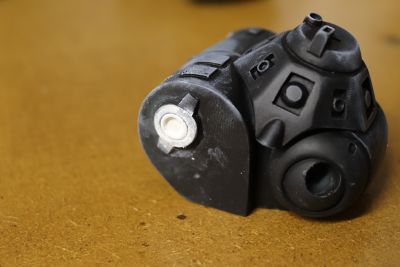
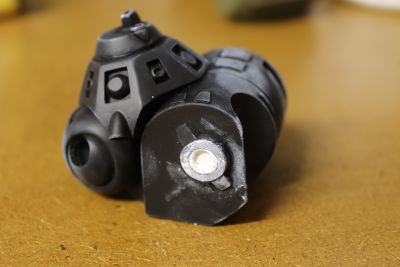
Original backpack unit assembled - some masking still to do in order to highlight the circular extensions either side (probably in white).
Note: This backpack will be replaced by the heavy armament/propellant tanks - but it is getting built for completeness:
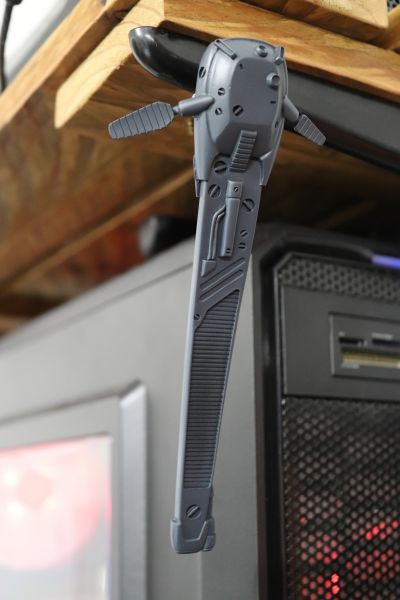
[Update - July 24th 2021] - Re-sanded and then primed the heavy armament gun and stabiliser fin:
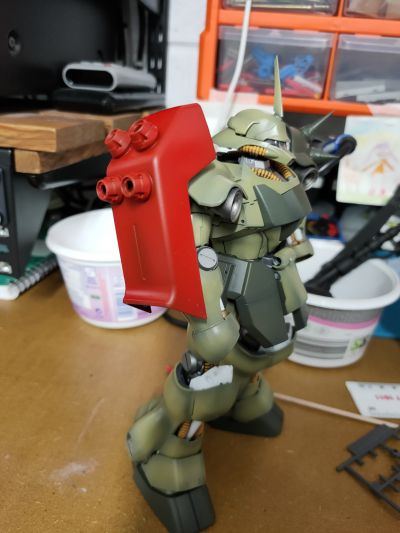
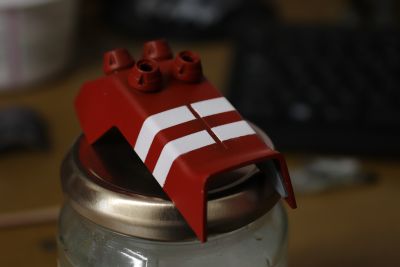
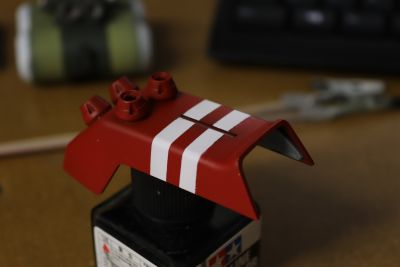
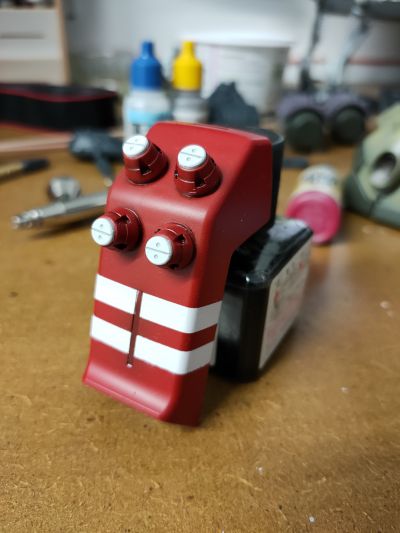
[Update - August 3rd 2021] - Sprayed the red top coat of the shield (Vallejo Model Air, Red RLM23):
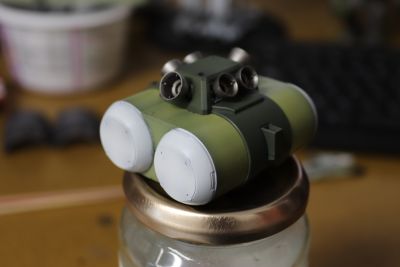
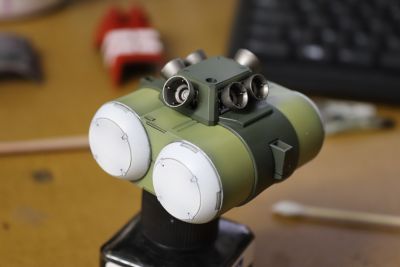
[Updated - August 7th 2021] - Painting stripes on the shield and the end tanks of the normal backpack (Vallejo Mecha Colour, Pure White) and then adding panel line ink to both:
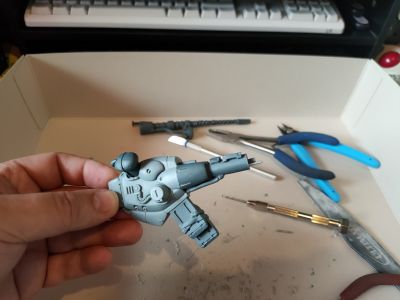
Filled in the normal cannon/stabliser mounting holes on the heavy armament backpack (they're supposed to be just ball/pin mounted) with putty and made holes ready for another pair of neodymium magnets to be glued in once it has cured and been sanded flush:
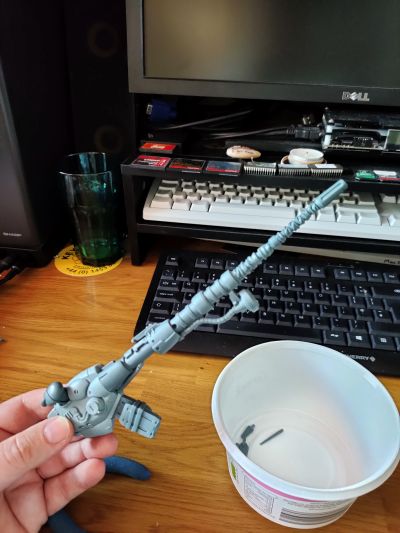
Testing out the fit of the backpack and the magnetic mounting solution for the cannon and stabiliser parts:
The magnets are easily strong enough to keep the stabiliser fin connected and at a given angle, they're also strong enough to keep the cannon connected - but the length of the cannon means that without support it will rotate until the tip of the cannon rests on the ground. That's not a massive issue as most of the time the cannon will be resting in the hand of the figure (it doesn't need much resistance to stop it from moving as it isn't particularly heavy).
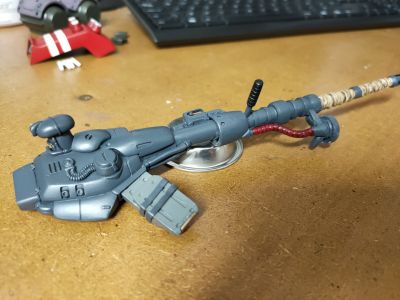
[Updated - August 8th 2021] - Painted the base colour of the backpack, stabliser fin and cannon, all in a blue-tinted grey colour (Vallejo Model Air, blue grey + 5 drops MIG Ammo, medium gunship grey + 5 drops Vallejo Mecha Colour, titan blue):
Touched up the propellant tank armour panels with the magenta-tinted grey that I used earlier, this was to go over those parts that I cleaned the panel ink too-hard and went through the top coat of colour, they're looking much better now:
Grenade/smoke launcher covers added to shield:
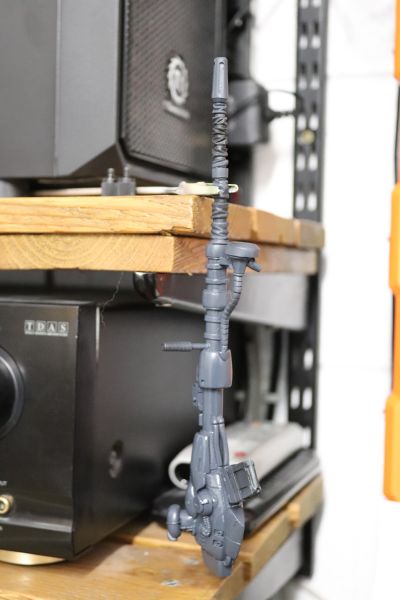
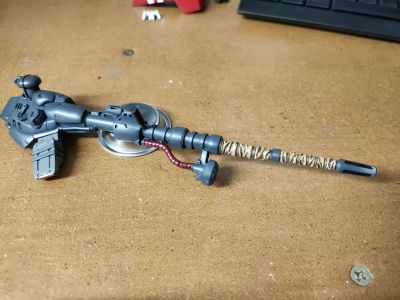
Starting to detail the cannon:
