Table of Contents
Master Grade 1/100 Hazel Custom
- Manufacturer: Bandai
- Part number: N/A Premium Bandai limited-run kit
- Year of production: 2017
- Gundam in-universe model number: TR-1 Hazel Custom
- Scale: 1/100
- Series: Advance of Zeta
- Kit type: MG
- In-universe role: Prototype Mobile Suit
- Build date: 2020
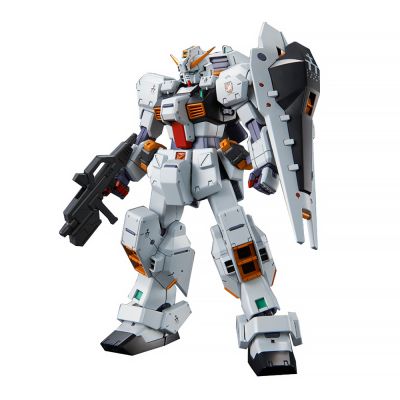
Manufacturer Images
Tools Used
- Neo for Iwata TRN-1 airbrush
- Harder & Steenbeck Silverline airbrush
- My Hobby snips
- Badger Ultimate sanding strips
Colours Used
- Inner frame: Badger Ultimate dark grey surface primer
- Inner frame: AK Interactive Duraluminum Extreme metal enamel
- Inner frame: Tamiya black panel line accent colour
- White panels: Vallejo Desert Tan surface primer
- White panels: Vallejo Panzer Dark Grey (RAL7021) for panel line pre-shading
- External 'metal' parts: AK Interactive Extreme Gunmetal enamel
- Thruster bells: AK Interactive Extreme Chrome enamel
- Yellow vents/intakes: Vallejo Desert Tan surface primer, Vallejo Model Air Medium Yellow + Orange (70%/30%).
Thoughts
Quite possibly my favourite Gundam design (well, apart from the ever-excellent Zaku II). I owned an old high-grade 1/144 scale kit of this for a long time before it finally got a very limited release in the Premium Bandai range in 2017. The model has sat in my collection for a couple of years now.
There are loads of versions of the Hazel:
- RX-121 TR-1 Hazel (plus High-mobility and Full-armour forms)
- RX-121-1 TR-1 Hazel Custom (this model)
- RX-121-2 TR-1 Hazel II
- RX-121-2a TR-1 Advanced Hazel
- RX-121-2 TR-1 Hazel Owsla
They don't all keep the blocky, boxy leg/shoulder armour of the Hazel Custom, and each variant keeps some of the main aesthetics, but changes things like the backpack, weapons, shield designs etc. You then get in to the realms of all the add-on options; extra booster packs, long-range rifles etc.
In-universe the Hazel is a predecessor of the RX-178-2 Gundam mk2, and the model kit shares some of its parts (inner frame, sliding leg armour, arms, etc) with the v2.0 release, that I built here.
The intention with this one is to keep the overall colour scheme the same as the original: white, dark (almost-black) blue, with the light grey, yellow and red highlights. The only main change I'll probably make is to do the inner frame in metallic, rather than the light blue/grey it is moulded in.
In Progress Images
[October 25th, 2020] - Started work on this kit.
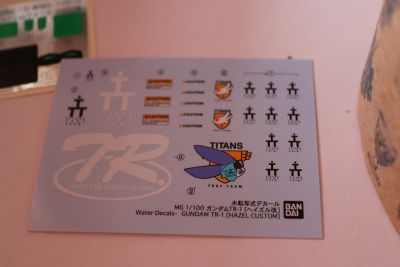
Box contents; parts clipped from each runner, plus a small set of (lovely) waterslide decals, a small sticker sheet, beam effect parts and some textured tubing for the rear of the knees, as with most kits based on the Gundam RX-178 v2.0 design:
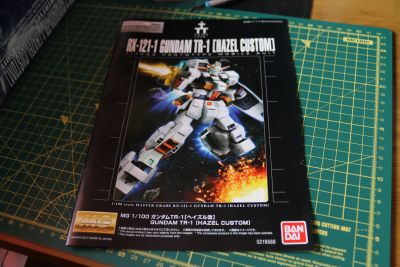
Premium Bandai manual - the only colour sections are the front and rear covers, though this is the newer style of layout which has plenty of english text and instructions on the inside:
Individual plastic runners cut out and parts filed down, ready for pre-assembly and priming:
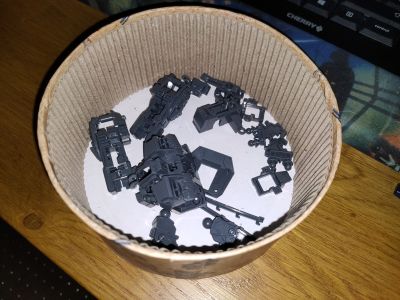
[Update 28th October 2020] - Okay, so maybe it was a mistake clipping out all of the inner frame parts in advance. In hindsight, looking at the manual, not all of the frame parts are used (some are still only used on the original RX-178-2 v2.0 Gundam) so I now have a massive tub of several hundred parts that aren't all going to be used. I sure don't want or need to be priming/painting all of those. I think I'll do a dry-assembly of the inner frame first before starting on any painting.
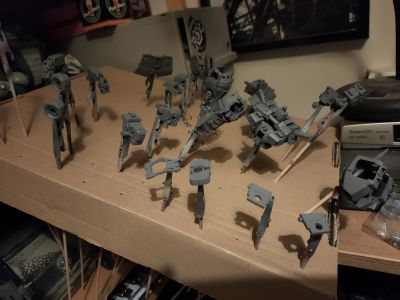
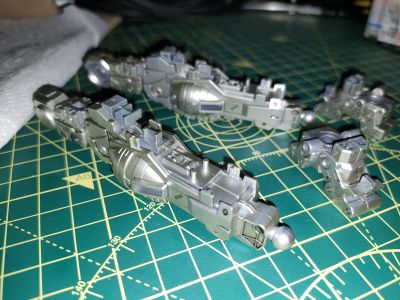
[Update 29th October 2020] Primed and painted the inner frame. Primer was Badger Ultimate polyurethane dark grey surface primer, and colour was AK Interactive Duraluminum enamel:
These are the left over inner-frame parts from the RX 178-2 v2.0 kit which are not used on the Hazel Custom:
Decided to prime the main white armour panels in Vallejo Desert Tan for several reasons: (a) So that the final white colour isn't as stark/bright, (b) To tone down the pre-shading I'm going to do, and © because my white primer (Badger Ultimate) was giving me a horrible beading effect on the bare plastic. I've not seen that before; it probably could have done with a wash/clean, but I've never had to do that with any other priming before.
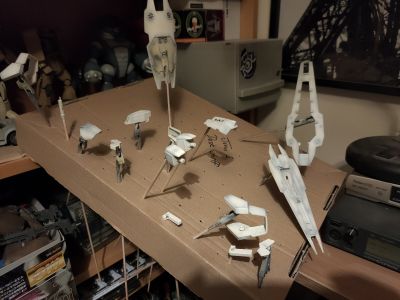
[Update 30th October 2020] - Pre-shaded the exterior armour parts with Vallejo Model Air Panzer Dark Grey (RAL7021):
[Update 12th November 2020] - Started to blend in the white colour on the pre-shaded parts:
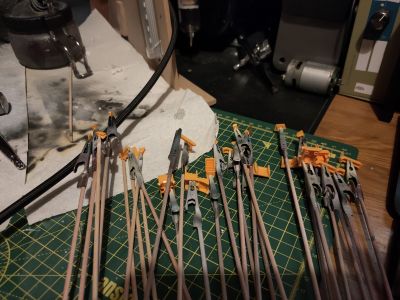
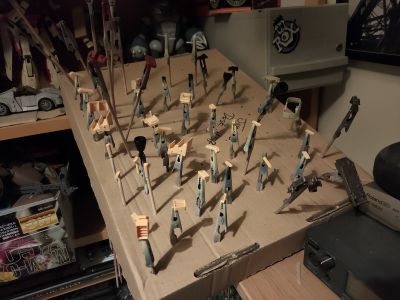
[Update 13th November 2020] - Priming yellow parts (mainly thrusters):
Some of these will need masking and painting dark grey/black as there are colour correcting stickers for some of them; i.e. some of those parts are not supposed to be all-yellow. For example, the following part is the rear thruster vent in the lower legs, the square recesses between each 'fin' are supposed to be dark grey or black to represent exhaust ports, but it's molded all as one piece. You can see the black square stickers that Bandai supply:
I won't be using those stickers.
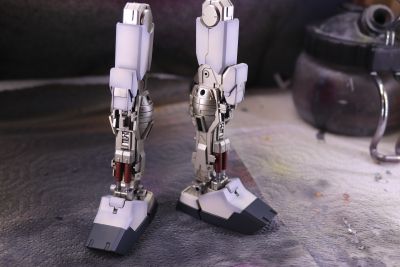
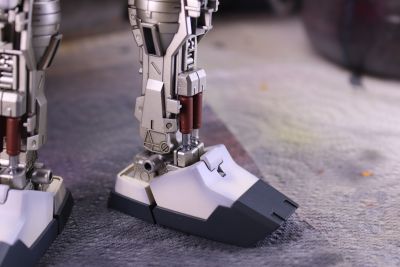
[Update 16th November 2020] - Primed all remaining parts, painted externally visible 'metal' parts like the shield handle, pistons for the ankles, etc.
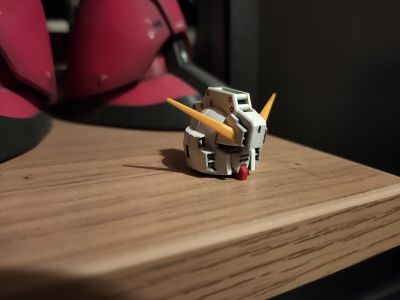
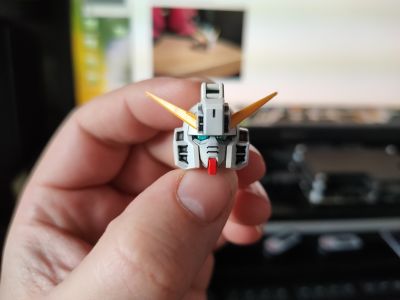
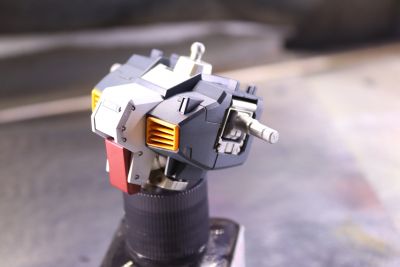
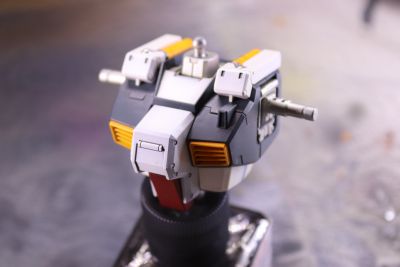
Assembled the head, including panel lines:
… and then cleaned up with a bit of thinners to get rid of the excess ink:
Main leg armour inked:
[Update - 19th November 2020] - Finished panel lining of all parts, finished assembly of all sub-units and started putting the main sections (torso, waist, legs, arms etc) together.
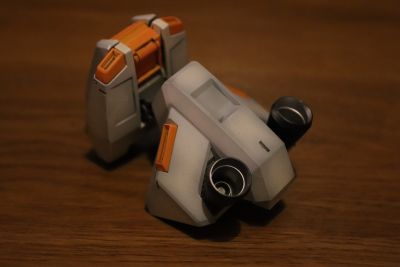
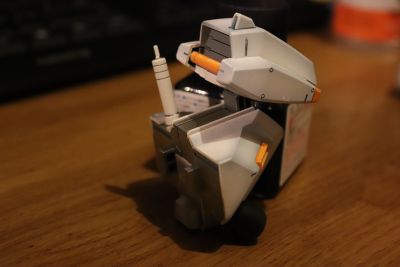
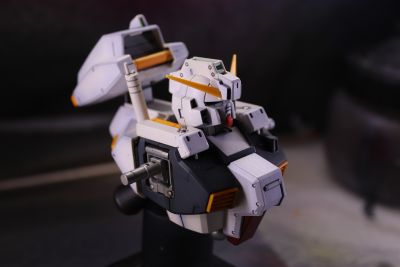
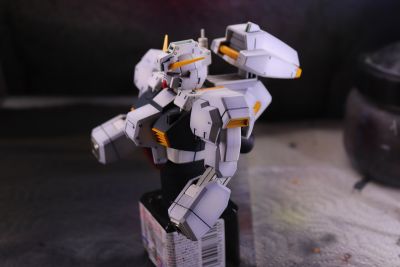
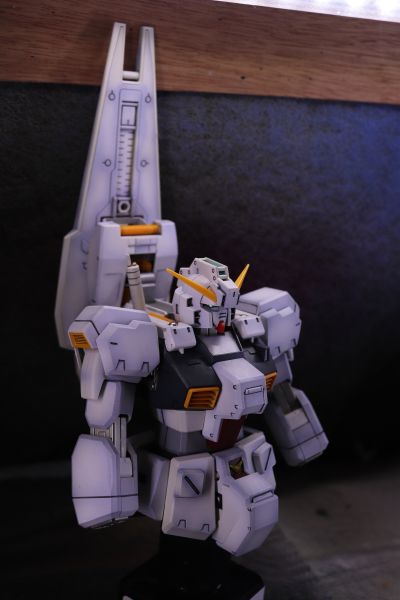
Shoulders and backpack:
Rear skirt armour and thrusters:
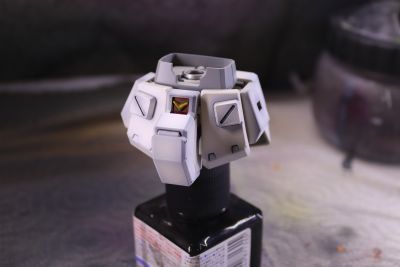
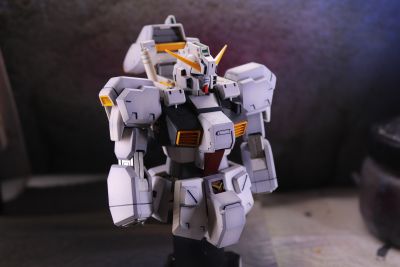
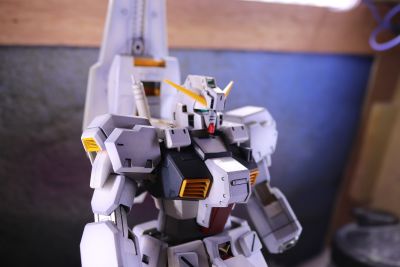
Assembly of torso, arms and head:
Assembly of waist section:
Torso and waist section assembled:
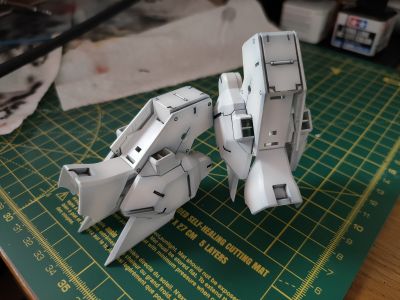
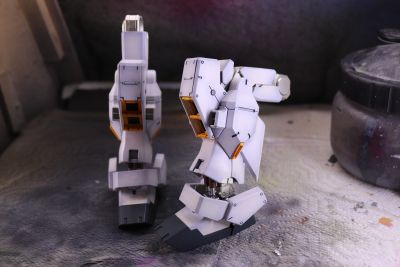
Fitting armour panels to legs:
Shield booster attached to backpack:
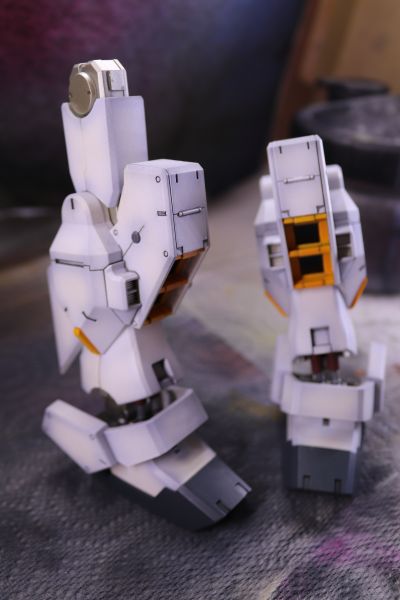
Final armour fitting to lower legs:
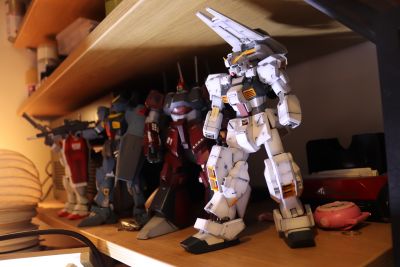
Legs, waist, torso and backpack all assembled:
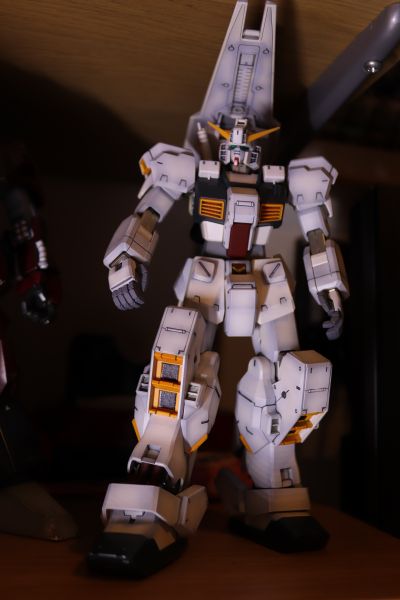
Hands fitted. Assembly and panel lining complete, but no decals or weathering applied:
I'm really pleased with the way this one is turning out - I think I've got the preshading of the white armour panels just about exactly how I envisaged it. I did a far neater job of the panel line ink too; enamel thinners and cotton buds are now my best friends.
Next is to finish the accessories (not much with this kit - a beam rifle and a couple of ammo magazines), and then do an initial gloss varnish and then decals and weathering.

