OO Gauge Train set and scenery
So this is a surprise Christmas present (2019) for my wife. She had told me that she always wanted a train set when she was a child, and had to settle with playing with her cousins set instead.
I ended up buying a Bachmann Digital branchline starter set (Class 25 diesel and two period-correct passenger carriages) as well as a freight engine (Bachman Class 57 diesel in Freightliner colours; her dad worked for BR and then Freightliner):
I also bought an extended loop of track, plus additional bits and pieces to put together a more complex setup.
Track Design
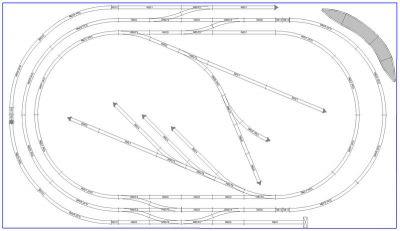
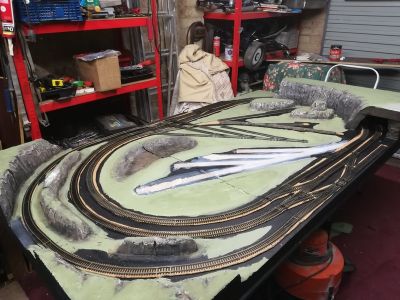
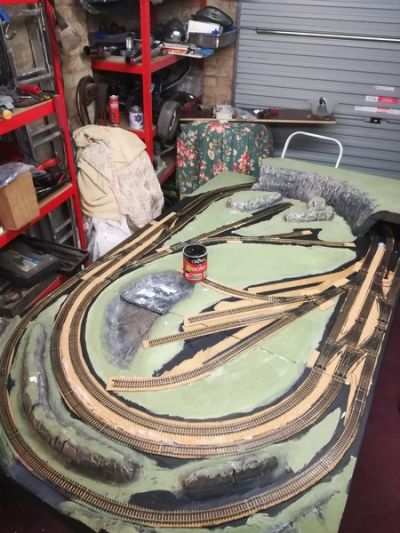
For the track itself I tried to do two full loops, plus a partial outer loop and sidings. The main station and a goods yard are on two spurs which branch into the centre of the layout.
At one end of the track (the end with 3 curved tracks) is a hillside cutting, and at the other (two curved tracks) a short tunnel section. There's a water feature in the centre.
There's one modification to the above plan; and that's the direction of the very top pair of points that join the top most half-loop to the middle loop. In practice I reversed these (from left-hand to right-hand points), since the original orientation was a slip-up on my part and wouldn't allow a train to join or exit the outer loop from that direction; it now mirrors the bottom pair of points.
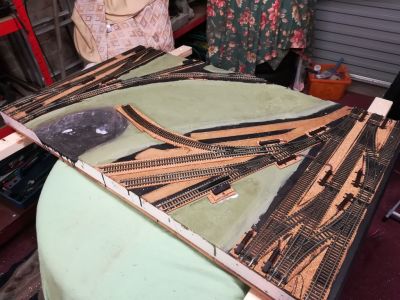
The main thing about the design was that it had to go together in such a way that it would fit on 3 seperate boards; each 70cm x 120cm. With two young children running about we don't have space to permanently have this set up, so it needed to be flexible enough to go together and come apart within 10-15 minutes or so. This means that points, wiring etc have to be relatively simple and physically placed so that where track crosses board edges, it's either straight, or can be cut and rejoined without impacting points.
The design above has all of the points located on the centre board, which makes it easier.
Checking Fit
I didn't have a full inventory of all the track sections I had, so the initial design just presumed that there was about the right number of parts. Alas that wasn't the case, as soon became clear as I emptied out the Bachmann track and added it to the extended track that I had bought as a job-lot.
Quite a few more points (R8072 and R8073 Hornby parts), as well as some short straights were needed.. and duly ordered.
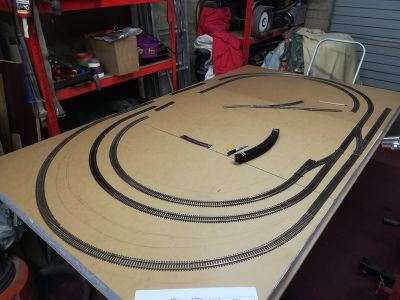
That said, I did have enough parts to emulate the overall dimensions of the track and it showed that it did fit, so I was able to sketch out the outline of where the track would go, and start to design the scenery to fit around it.
Initial placement of scenery
I like using expanded polystyrene for scenery - its cheap, easy (though messy!) to work with and doesn't need any special prep to paint or weather (nothing more than PVA / white glue and paint).
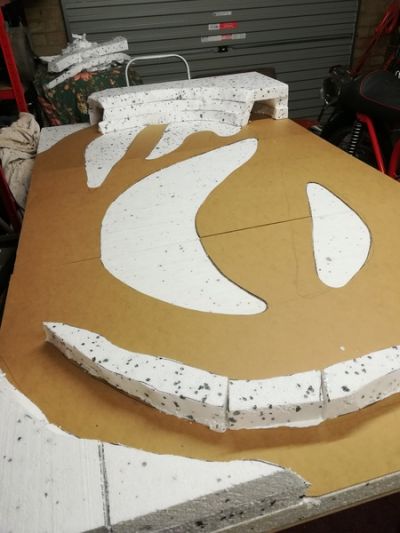
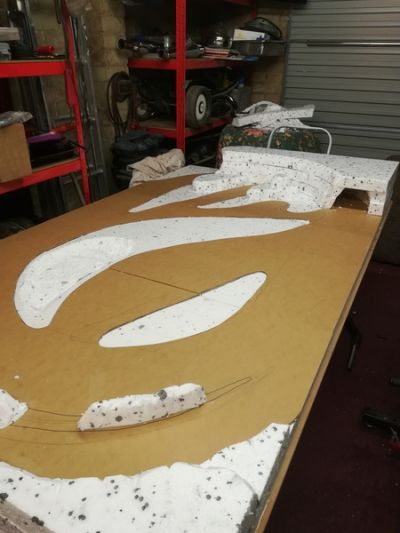
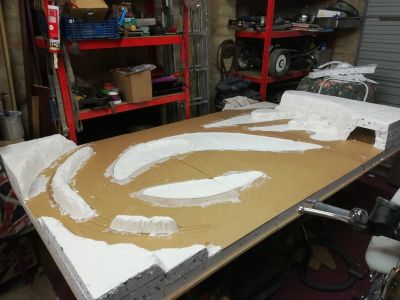
I had planned to add some hills and a short tunnel section to the board, to break up the relatively simple loop design. At one end I placed two layers of polystyrene sheet at the corners, curved to follow the intended path of the outer half-loop.. I guess you could call it a hillside cutting… if you really stretched it!
Where the track wasn't to be fitted, I cut out the hardboard, exposing the polystyrene, so that we could get a bit more of a natural, undulating texture.
At the other end I made a tunnel section around two thirds of the width of the board. This will take both the inner and middle loops; with the middle loop intending to have a small station at the corner where it exits the tunnel (let's call it “Cliffside Station” for now!).
Anywhere track was to fitted was left without scenery - it will be painted, have static grass and flock added, but will mainly be covered by ballast on and beside the track itself.
Scenery Weathering
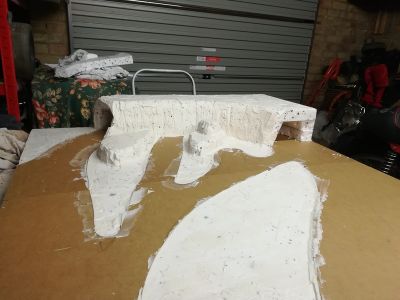
After gluing the scenery down, it was time to make it look a bit less like pieces cut from square sections of polystyrene. That means cutting off and rounding corners, chopping out wedged sections to emulate weathered sections and generally making the pieces look a lot less uniform.
At this point I also made a small design addition - adding two short rock/hill sections in front of the tunnel; these are placed at the far end of what would be the goods yard, as I thought it might make a good quarry, with the application of some more free-standing rocks and the option of some hopper loading scenery at a later date.
Plaster
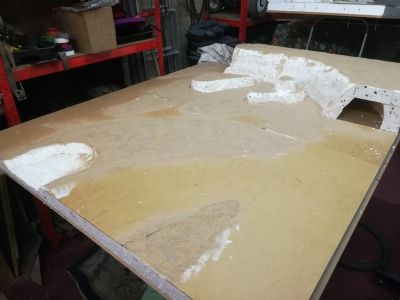
Plaster on the scenery isn't an essential step, but it does go a long way towards hiding the true nature of the material. It also lets you score, shape and smooth the features even more. Also, it gives a much better surface for drybrushing when you come to paint and weather the final finish.
I'm fairly pleased at what it looks like at this point; though there still isn't a tunnel entrance fitted yet - that might have to be something we buy and fit at a later date.
Sand
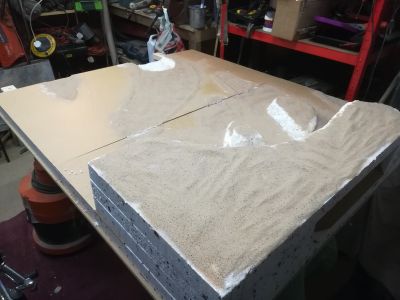
Having used this technique to make scenery sections for wargaming layouts previously, I decided to apply a coating of sand to all of the flat areas of polystyrene that were on show. This is for two reasons:
- The extra layer of PVA glue and sand will dry to a very hard, tough finish
- It will give the flat areas some much needed texture, and we get a more natural finish when applying flock and static grass on top of this
Unfortunately the temperature and dampness of the garage that I was working in meant that this didn't dry quite as tough as I would have liked :(
Track Underlay
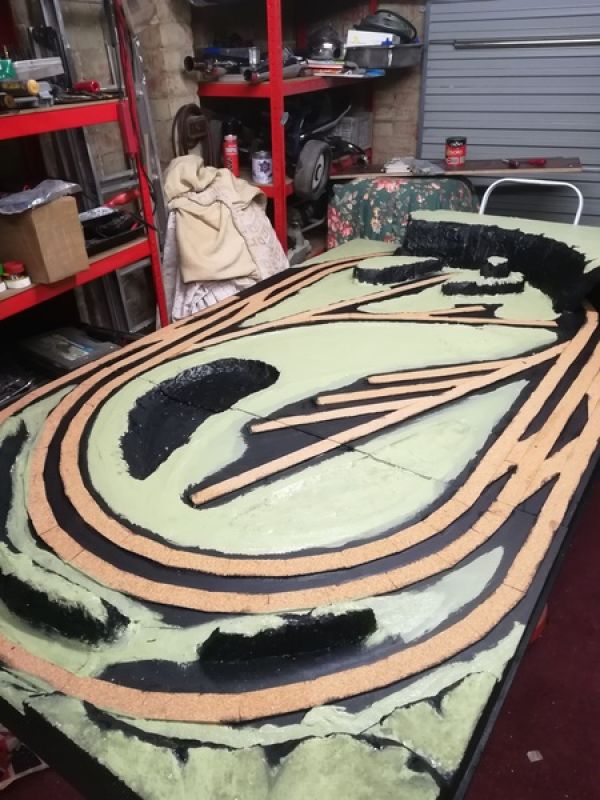
Cork matting is typically fitted under all track sections to raise it slightly, provide a small amount of sound deadening and allow a bit of vertical 'give' between sections.
One thing I learned from this process is that cork is a horrid thing to glue - it wants to curl and lift everywhere! Also, I really, really, should have made the top of the tunnel removeable!
Sadly I made a mistake in the layout of the track which meant that I had to go back and remove one of the inner sections; the initial place of the track had one set of points directly over a board join, which was completely impractical.
Here I've removed the cork matting and am ready to re-lay the cork at a slightly different location:
Final track position, and all underlay now fixed in place:
Painting
Hills and scenery, under track, grassed areas.
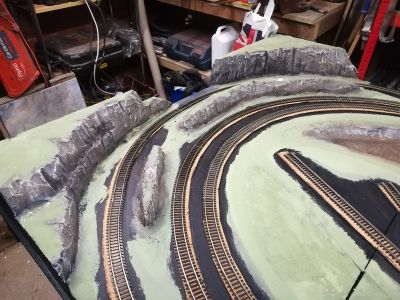
First pass drybrushing - a medium grey base colour:
Second pass drybrush - light grey highlights:
Third pass is a brown earth wash over the rocky areas to tone down the weathering effects:
Track
Fixing, cutting.
Where thr track crosses from board to board, it was cut and then joined with a brass tube and pin (soldered to the side of each rail), so that the track still joins both physically and electrically:
Testing that the cut and re-joined track actually works:
Electronics
Points, wiring, control panel.
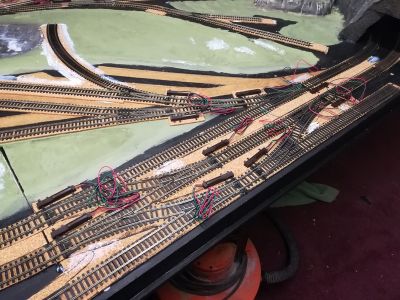
Points fitted to track, not wired in yet:
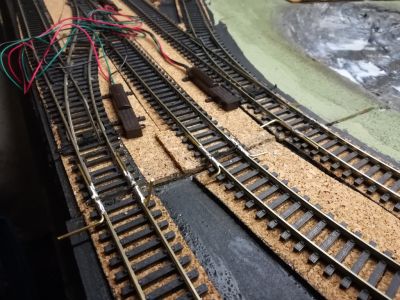
All points motors fitted, and several additional Hornby side-mount motors fitted for three remote decoupling units; two on the inner 'quarry' section, and one in front of where the main passenger platform will be sited:
Close up of the decoupling units:
Because there are 15 or 16 individual points, I decided to make a controller so that it would be easier to change them all from one place.
I just needed a small desktop enclosure, enough non-latching switches for each of the poiints, and a connector that was suitable for the 3 wires to go to each point (common, left, right). I settled on the use of 3.5mm TRS stereo jack plugs, since they have 3 connections and are easily made/broke; again, a key part in having the system simple to setup and store.
Plastic enclosure marked up with where the switches will be located - they only cover half of the panel as the left half will be used to affix an image of the track and the numbered points, which will match the numbered switches.
Starting to attach the wiring on the underside of the track boards; since all but one of the motors are on the central board, I decided to disconnect the outer boards to make it easier. Turns out that the track joining mechanism works really well, and the boards came apart quite easily:
All point motor wiring connected up and fitted with 3.5mm TRS male plugs:
Final Scenic Touches
Flock, static grass, rocks, gravel, water.


