This is an old revision of the document!
Maschinen Krieger Friedrich / LFS-03B
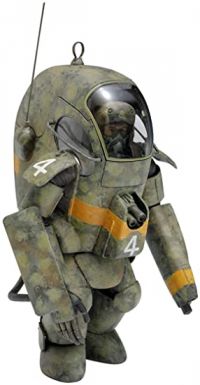
This is a model based on the Ma.K Friedrich armoured fighting suit, the original design is shown below:
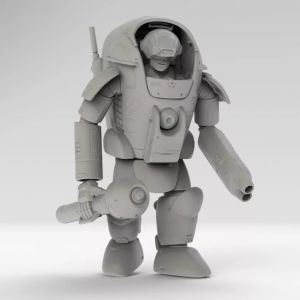
The modified design is from an author called Three Triangle, and can be purchased from Cults3d, you can see the authors intended output here:
It's a pretty good likeness, and with a few extra parts (wires, brass tubing, etc), should look like a good variant.
Details
- License: Commercial
- Scaling: Not adjusted - model designed for 1/20 scale
- Supports: Added by Chitubox, plus manual positioning
3D Model
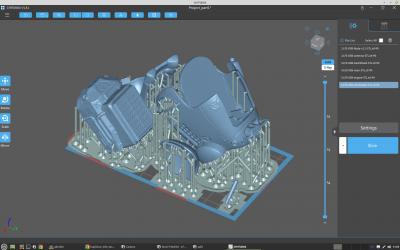
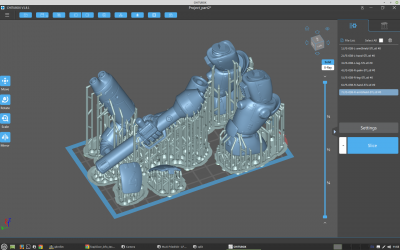
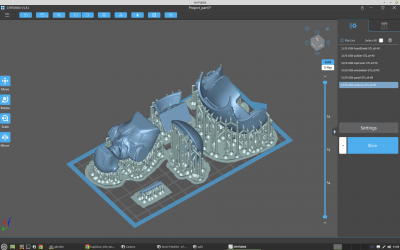
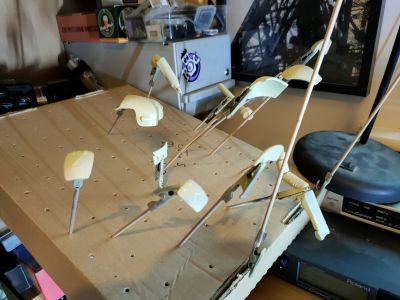
This is a bigger model and needs to be printed in 3 seperate jobs in order to fit on the printable area of my Elegoo Mars Pro printer.
Part 1 - main body, engine, pilot seat, cockpit hatches:
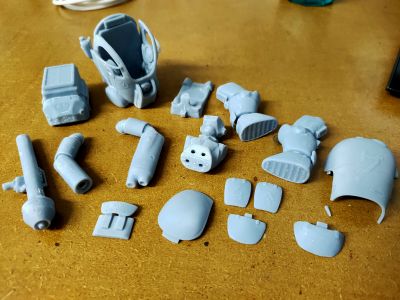
Part 2 - legs, arms and weapons:
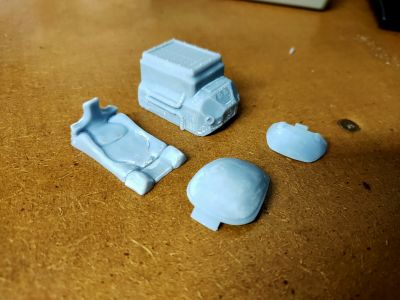
Part 3 - pilot figure, canopy, engine cover:
Printing
Part 1
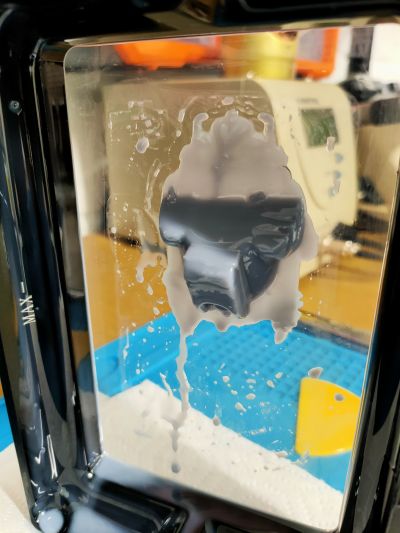
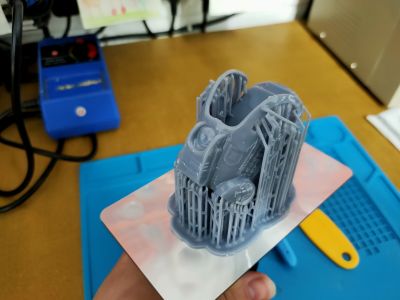
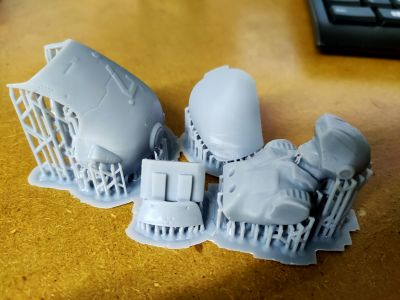
Again, a mostly good print, but the main body is nowhere to be seen!
Part of the main body is stuck to the FEP film on the bottom of the resin vat:
The body section will obviously need printing again!
[Update July 21st 2021] - Reprinted the failed main body section this afternoon and with an extensive amount of supports it printed perfectly:
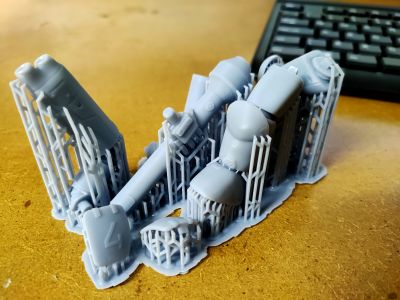
Part 2
Part 3
In-Progress Images
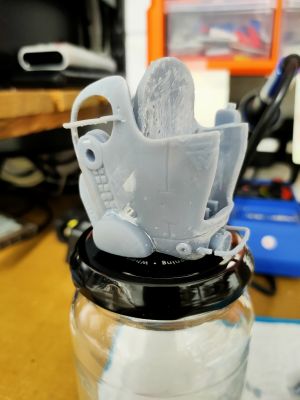
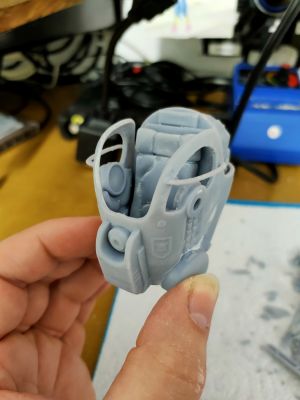
A little bit of cleanup with a craft knife to remove some support nubs and then a bit of sanding to smooth things out:
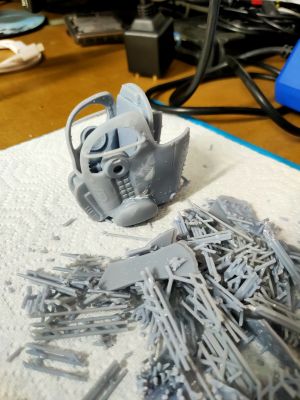
Removing the supports and cleaning up the main body section:
Test fit of the seat and engine parts:
The three thin sections - one by each 'side window' and one around the rear engine 'exhaust' printed okay, but I managed to snap all three of them during cleanup. They could probably be better done in brass or copper pipe as resin of that thickness is always going to be very fragile.
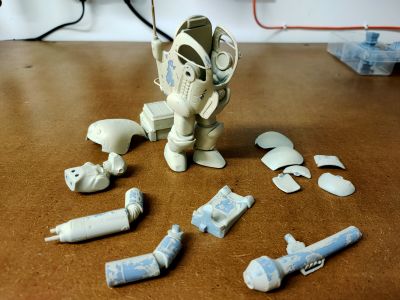
All parts printed and given an initial clean/nub removal:
Unfortunately I managed to snap off one of the corners of the upper cockpit canopy, so that will need to be glued back on:
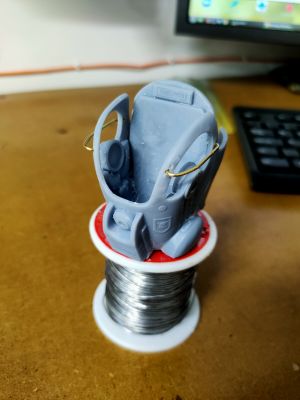
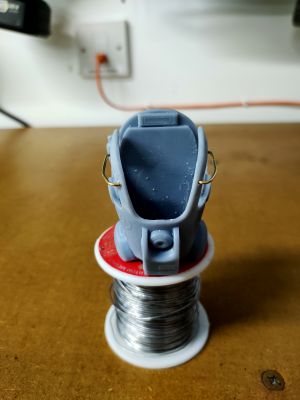
[Update - July 14th 2021] - I replaced all of the thin resin 'bars', 'handles', antennae and similar with brass rod:
[Update - July 15th 2021] - Added barrels to the laser cannon arm and electrical wires from the cannon to body:
[Update - July 16th 2021] - Pinned and glued legs to body:
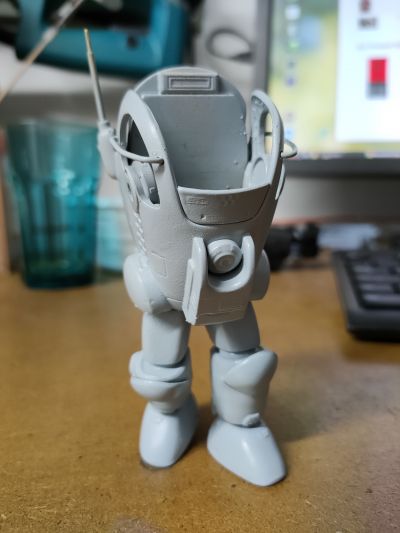
First coat of primer, mainly to see where I need to sand again, or, as may be the case - apply filler first:
[Update - July 18th 2021] - Filled all of the nub holes with two-part resin putty and sanded it flat. Ready for another coat of primer:
[Update - July 23rd 2021] - Applied another coat of primer (olive drab). Most parts are about ready for paint/shading etc, but the main body and the laser arm has a few little areas where the original primer coat has been sanded back and requires feathering in:
[Update - July 26th 2021] - Applied based coat of final colour (a mix of grey, blue and white)… ended up being lighter than I wanted, not particularly happy with it but decided to press on…
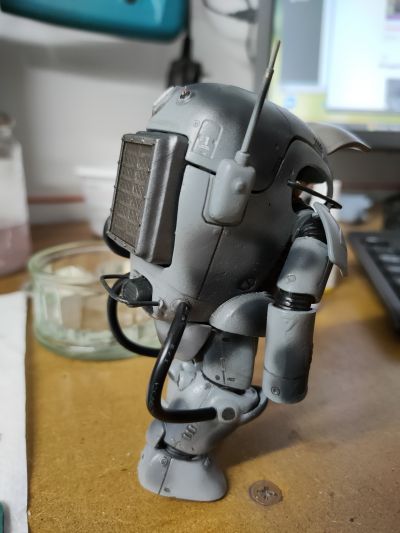
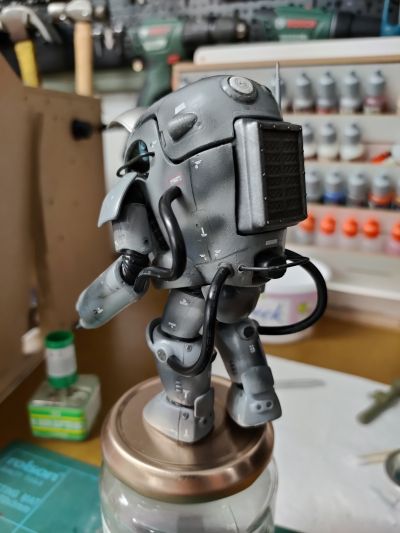
[Update - July 27th 2021] - Did some basic camo in shades of grey/blue… it softened the light grey base colour down quite a lot. This is my first attempt at doing any kind of camo scheme and I can definitely improve on this in the future! Also painted the pilot figure, but ended up having to file down the back of the pilots head in order to display it with the suit hatch open:
There's also some very basic panel lining/weathering going on, but I'm planning to use this as a test model for oil based weathering once I get some decals applied, so it will end up looking a lot dirtier.
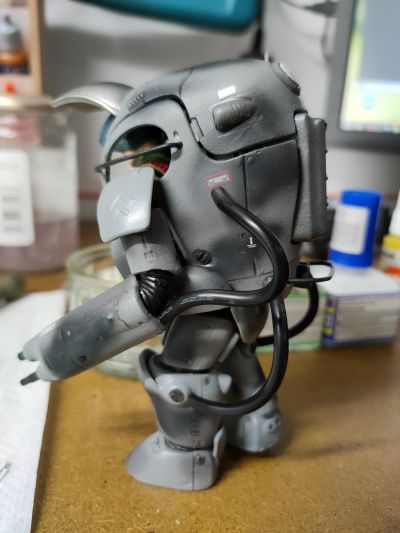
[Update - July 28th 2021] - Started to add various decals to the suit. Since I obviously didn't get any with the digital 3D model, I used various 1/100 scale decals from a few HiQ Parts sheets. They are really nice things:
You'll also notice I added some hoses to the laser arm and the legs. Not included on the 3d model, but almost all the Ma.K suit designs have them. They'll get painted and weathered so they don't look like pieces of plastic chopped from a spare USB cable…
